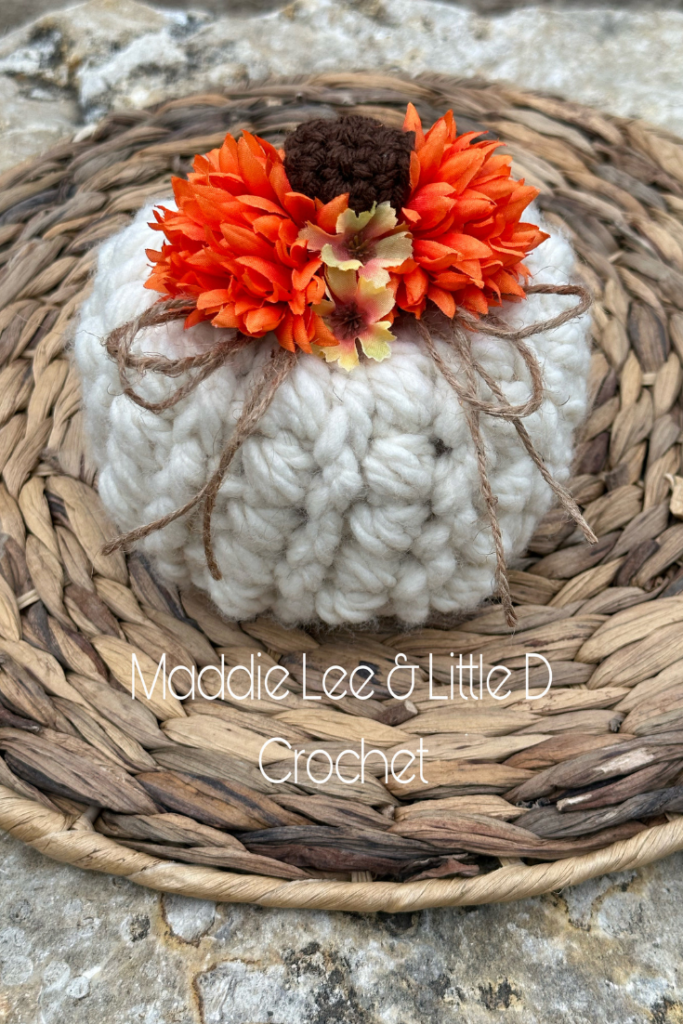
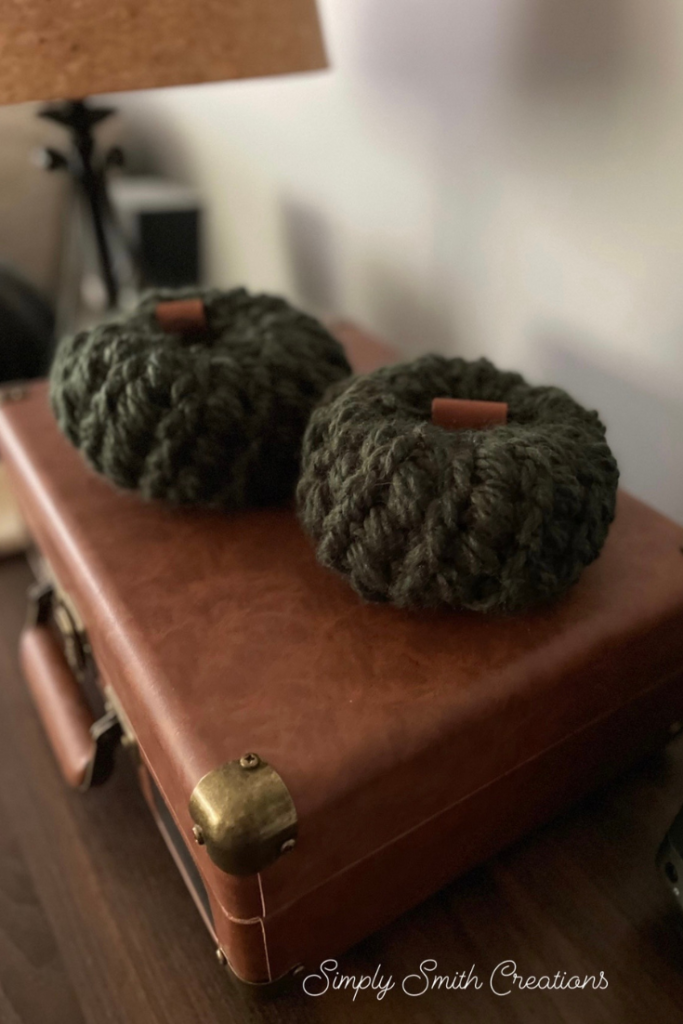
It’s been a hot minute since I released something new and free and I am so excited to share my newest pattern with you all. It’s definitely a quick and easy make with gorgeous texture and I know you will want to make many of them!
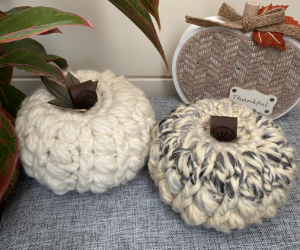
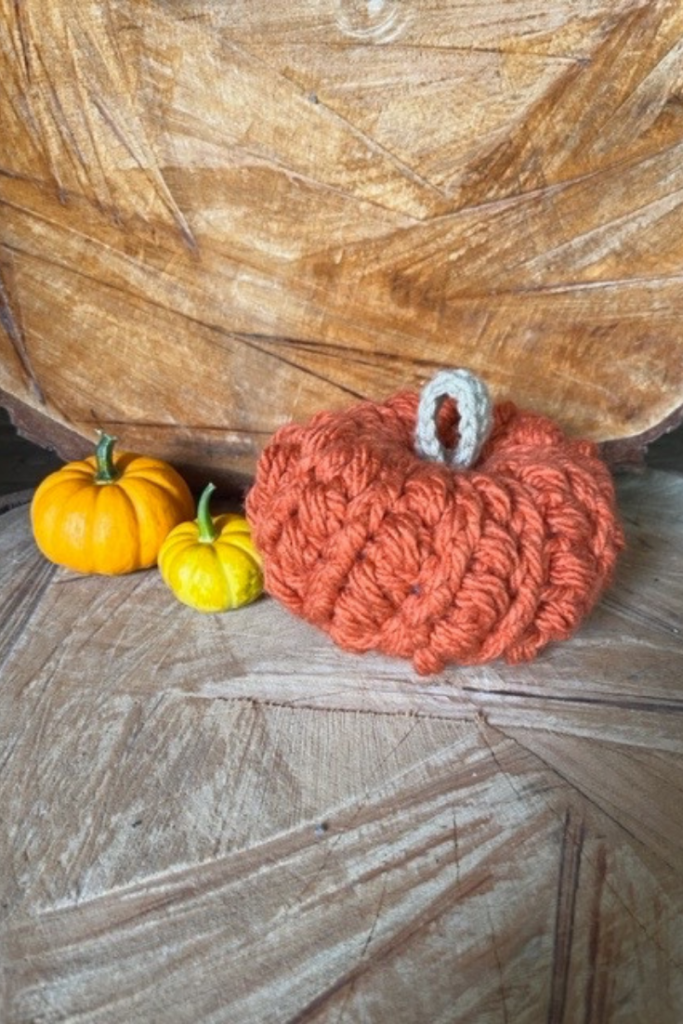
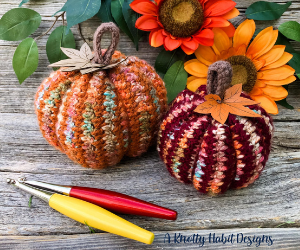
I am so excited that we are moving into fall, as it is my favourite season and I am all about pumpkin décor. So naturally, that is what I have for you! I hope you love it as much as I do!
What is your favourite fall makes?
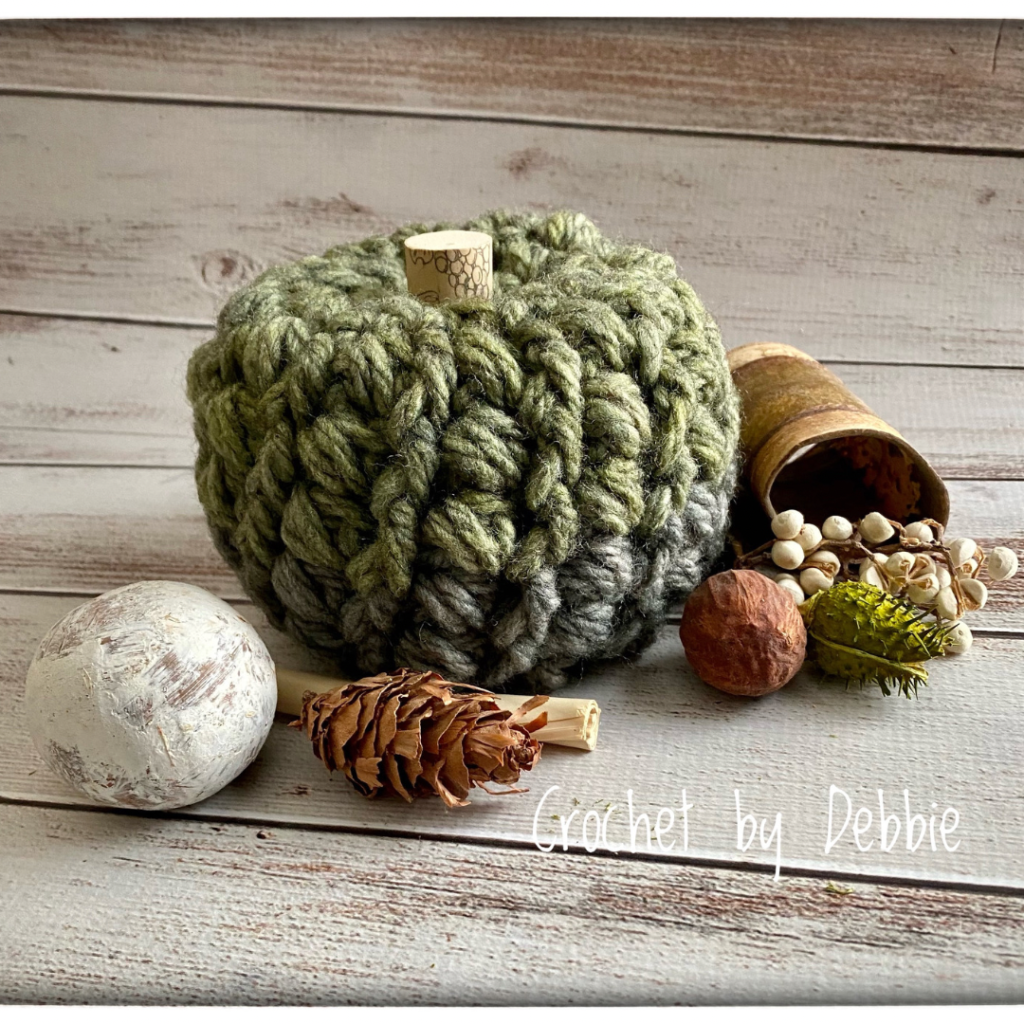
Made By Debbie
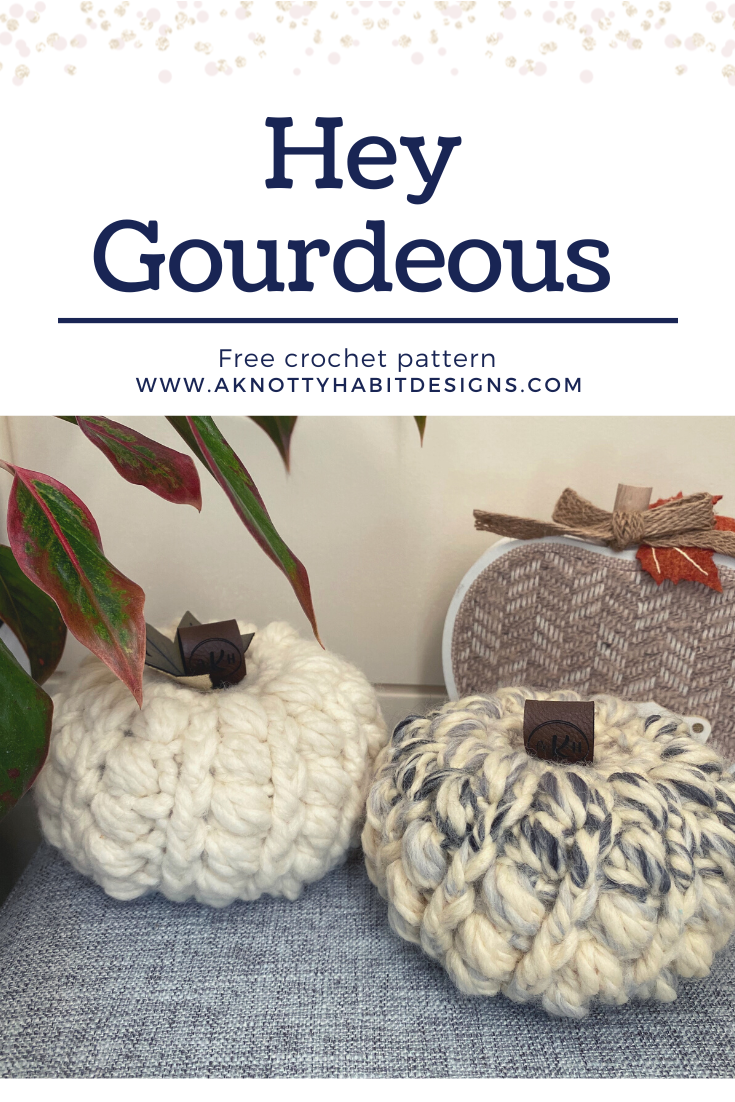
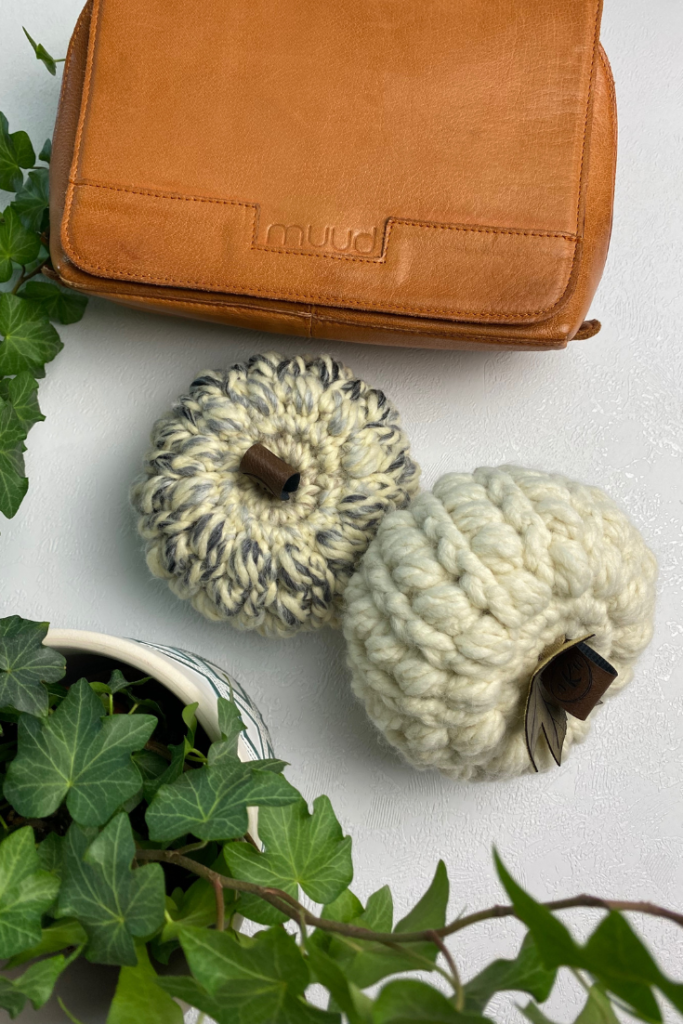
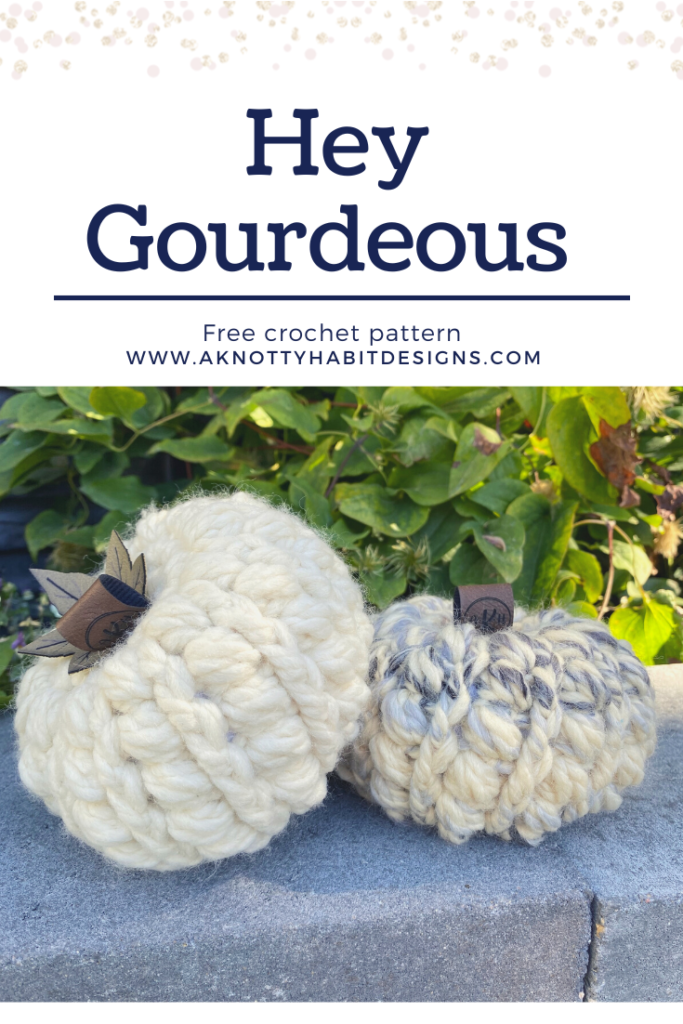
PATTERN : Hey Gourdeous
What you need:
-8 mm and 5 mm crochet hook (or hook to obtain gauge)
-Any Bulky weight (6) yarn. I used Lion Brand Thick and Quick (approximately 50 yards) and scrap amounts of worsted weight for the stem.
-Measuring tape
-Scissor
-Fiber fill
Gauge with 8 mm hook:
5 SC by 5 rows = 2in x 2in
Stitches you will be working with:
MC: Magic Circle CH: Chain SC: Single Crochet HDC: Half Double Crochet
PS: Puff Stitch: (Yarn over (YO), insert hook in next space. Pull yarn back through the space, creating 3 loops on your hook. YO, insert hook in same space. Pull yarn back through the space, creating 5 loops on your hook. YO, insert hook in same space. Pull yarn back through the space, creating 7 loops on your hook YO, pull through all 7 loops.
FPDC: Front Post Double Crochet SC2TOG: Single Crochet 2 Together SLST: Slip Stitch ST(S): Stitch(es)
Notes: Written in US terminology. All CH 1 do not count as a stitch. Gauge isn’t important for this pattern.
Pumpkin Pattern
8.00 mm hook
MC
Row 1: 6 SC in MC, SLST to join. (6 STS)
Row 2: CH 1, 2 SC in each ST around, SLST to join. (12 STS)
Row 3: CH 1, 2 SC in each ST around, SLST to join. (24 STS)
Row 4: CH 1, [HDC in next ST, PS in next St] 12 times, SLST to join. (24 STS)
Row 5: CH 1, [FPDC around previous rows HDC, PS in next ST] 12 times, SLST to join. (24 STS)
Row 6: CH 1, [FPDC around previous rows FPDC, PS in next ST] 12 times, SLST to join. (24 STS)
Repeat row 6 for rows 7 – 9.
Sew in all ends and start stuffing your pumpkin. You do not want to over stuff your pumpkin as it will be difficult to shape it at the end.
Taking your tapestry needle and yarn tail, weave the yarn tail through the remaining stitches and pull closed. Secure with a stitch or two. Then push your needle through the bottom middle of your pumpkin and come through the top middle of your pumpkin. Pull it tight to create an indent in the bottom of your pumpkin and secure it with a stitch or two.
Push your needle through the top middle of your pumpkin and come through the bottom middle of your pumpkin. Pull it tight to create an indent at the top of your pumpkin and secure it with a stitch or two.
Now sew on your stem with your tapestry needle and stem yarn tail.
Weave in all ends.
There you have it!
You have made your very own Hey Gourdeous.
If you want a printed version of this pattern, click on over to my Ravelry site here where you can buy and download instantly.
I love to see your finished items, so feel free to use #aknottyhabitdesigns when you are posting your photos, so I can admire your work!
The photographs and pattern contained in the document are the property of A Knotty Habit Designs. You may not reproduce, redistribute, or share this pattern. You may sell your finished items but please give credit to A Knotty Habit Designs.
This website uses cookies to improve your experience. We'll assume you're ok with this, but you can opt-out if you wish. Cookie settingsACCEPT
Privacy & Cookies Policy
Privacy Overview
This website uses cookies to improve your experience while you navigate through the website. Out of these cookies, the cookies that are categorized as necessary are stored on your browser as they are essential for the working of basic functionalities of the website. We also use third-party cookies that help us analyze and understand how you use this website. These cookies will be stored in your browser only with your consent. You also have the option to opt-out of these cookies. But opting out of some of these cookies may have an effect on your browsing experience.
Necessary cookies are absolutely essential for the website to function properly. This category only includes cookies that ensures basic functionalities and security features of the website. These cookies do not store any personal information.
Any cookies that may not be particularly necessary for the website to function and is used specifically to collect user personal data via analytics, ads, other embedded contents are termed as non-necessary cookies. It is mandatory to procure user consent prior to running these cookies on your website.