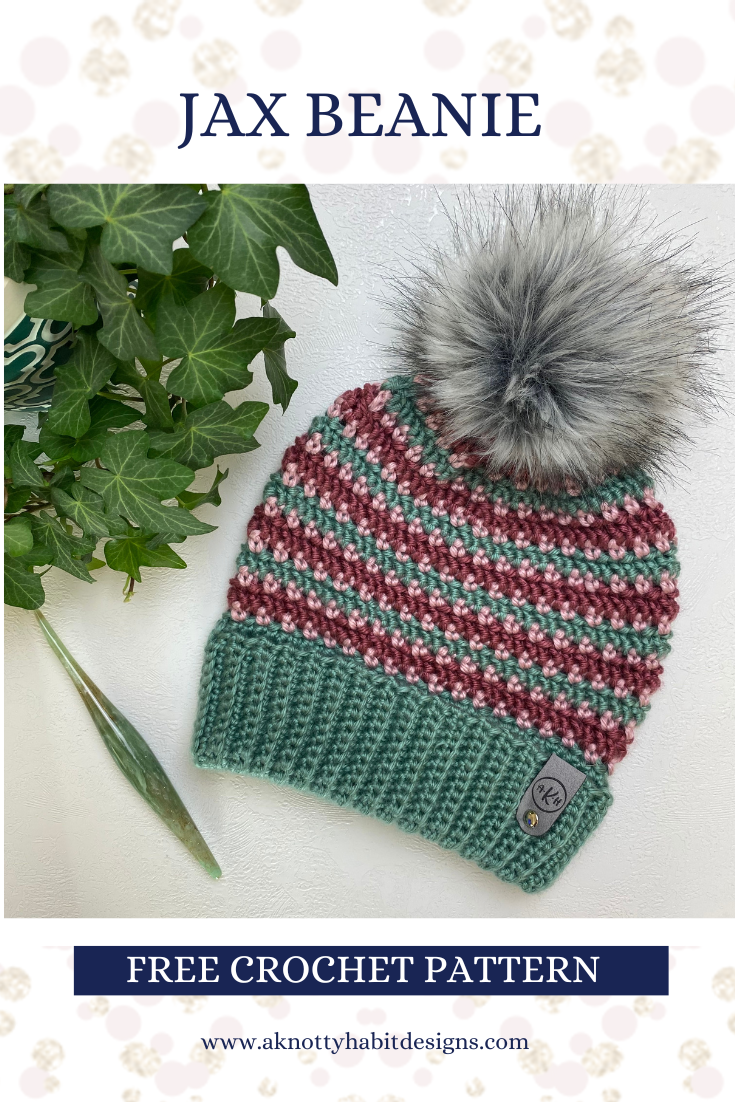
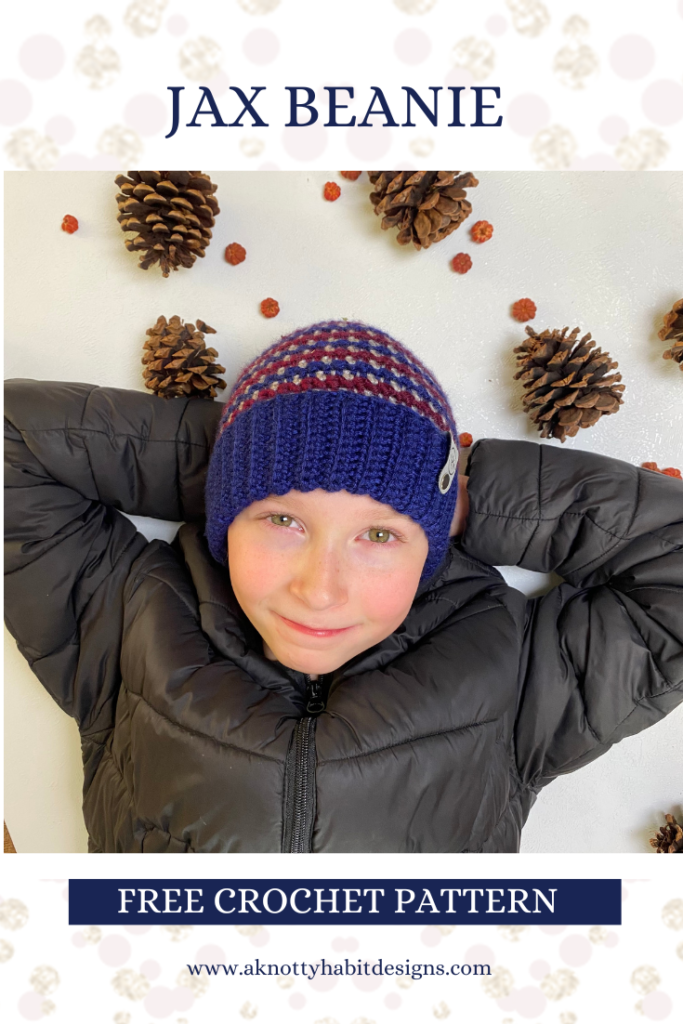
I am so excited to share that I was fortunate enough to be apart of the 2023 Furls blog hop and as usual, I really wanted to design a piece with colour and texture!
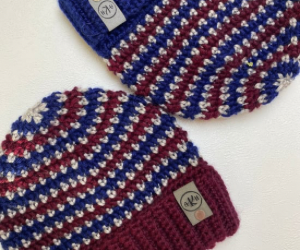
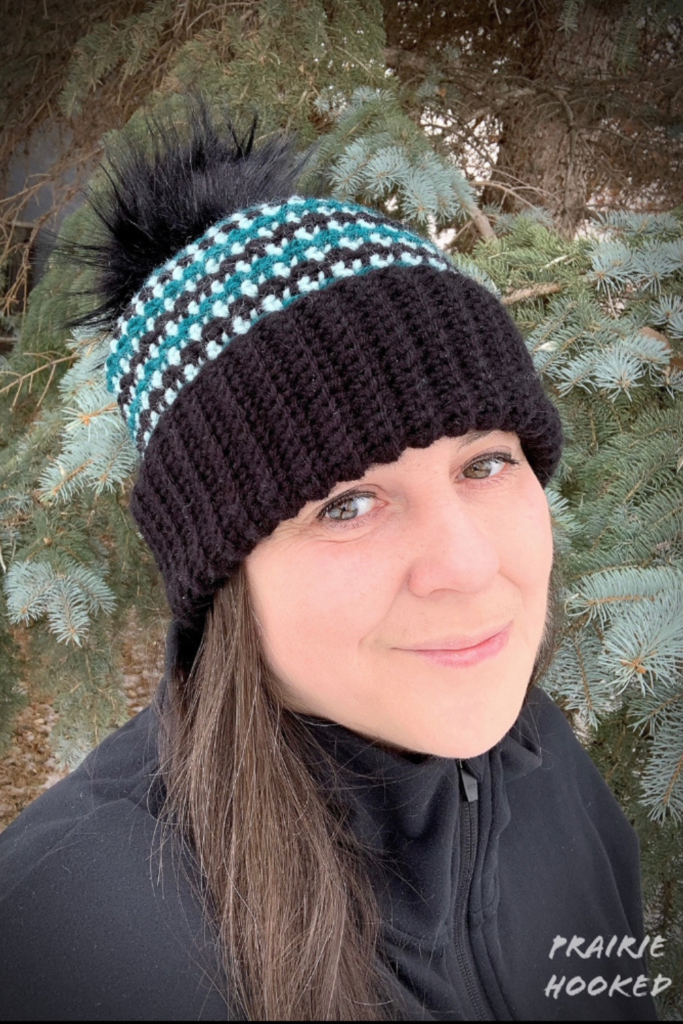
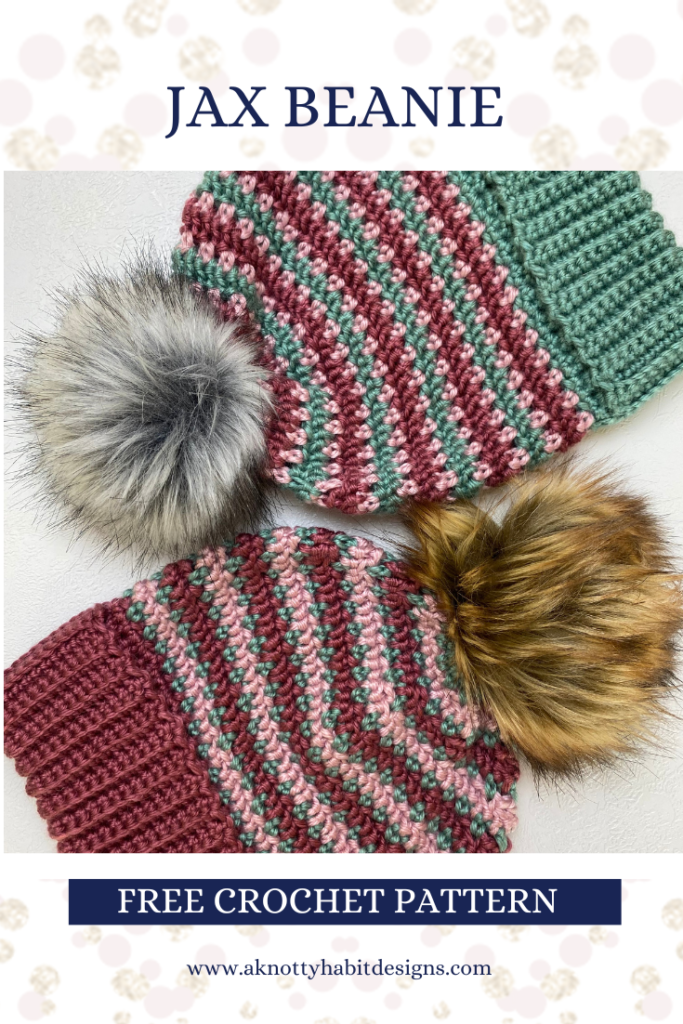
This year, I decided on designing a hat with three colours and a combination of different stitches to create a stunning texture with a simple 2 row repeat! I promise, this hat looks harder to do than it is and once you get the hang of it, you will be making Jax Beanies in your sleep. Well, maybe not in your sleep but likely during your favourite show or podcast!!
For this pattern, I used Furls Wander Yarn in 3 different colours. This is a worsted weight yarn and I actually really like how soft this yarn is and it has a sheen that you could stare at forever! You will also need a 5 mm and a 5.5 mm hook (or hooks to meet gauge).
Are you ready for your new favourite hat??
PATTERN : Jax Beanie
What you need: 5 mm and 5.5 mm crochet hook (or hook to obtain gauge).
Any worsted weight (4) yarn. I used Furls Wander Yarn. Up to 140 yards of colour A, 50 yards of colour B and 50 yards of colour C.
Yarn needle Measuring tape Scissors
Gauge with 5.5 mm hook:
9 STS by first 7 rows of the body of the pattern = 2 inches wide by 2.25 inches tall
Stitches you will be working with:
CH: Chain SC: Single Crochet HHDC: Herringbone Half Double Crochet: Yarn over (YO), insert hook into the next ST, YO and pull through the ST and the first loop on the hook, YO and then pull through the last 2 loops. BLO: Back Loop Only HHDC2TOG: Herringbone Half Double Crochet 2 Together SC2TOG: Single Crochet 2 Together SK: Skip SLST: Slip Stitch STS: Stitches
Notes: Written in US terminology. All CH 1 at the beginning of row do not count as a stitch. If you are having trouble matching the gauge, you may need to go up or down a hook size. Be mindful of your tension when doing you CH 1, you don’t want them too tight.
Colour Changes:
Your brim and row 1 of the body will be your chosen colour A. Your SC, CH 1, SK 1 rows will be your chosen colour B. Your first HHDC row will be your chosen colour C and your second HHDC row will be your chosen colour A. You will alternate these 2 colours for each HHDC row.
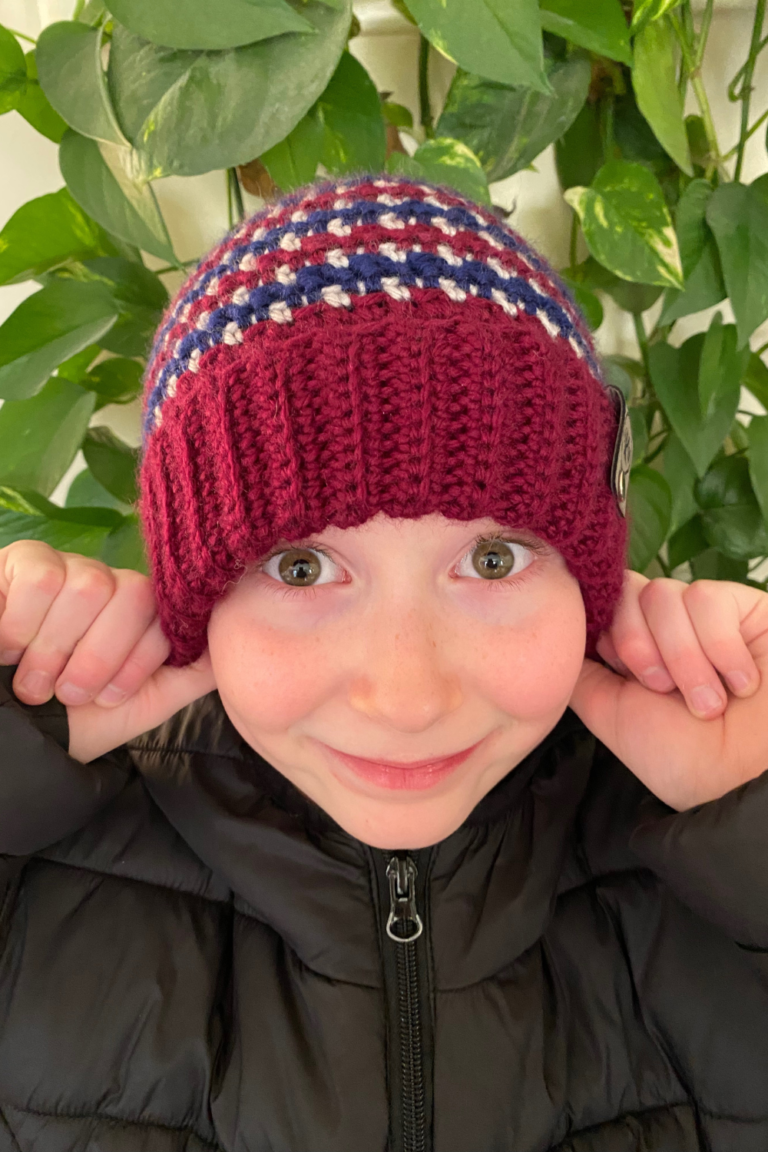
Child: 5 mm hook
Brim: CH 23
Row 1:Work a SC in 2nd CH from the hook, SC in the next 21 STS, turn. (22 STS)
Row 2: CH 1, SC in next ST, SC in BLO of next 20 STS, SC in last ST, turn. (22 STS)
Repeat row 2 until your brim is 19 inches long, lightly stretched.
Joining the band.
SLST your last row into your first row (chains) to create the band. Flip your band to make sure your SLST’s are on the outside of your hat. DO NOT FASTEN OFF.
Flip up the bottom edge of your brim to the top edge of your brim. Make sure your seam is inside your folded up brim.
Body
5.5 mm hook
Row 1: CH 1, SC 17 times in the inside edge of the brim, SC through both edges of the brim, SC 35 times in the inside edge of the brim, SC through both edges of the brim, SC 18 times in the inside edge of the brim, SLST to join. (72 STS)
Make sure your stitches are going in evenly around the brim.
Row 2: CH 1, [SC in next ST, CH 1, SK 1] 36 times, SLST to join. (36 STS/36 CH SP)
Row 3: CH 1, HHDC in each ST and CH SP around, SLST to join. (72 STS)
Repeat row 2 and 3 until your hat reaches 5.5 inches tall. End on row 2.
Decrease Rows
Row 1: CH 1, [HHDC in next 12 STS and CH SP, HHDC2TOG x3] 4 times, SLST to join. (60 STS)
Row 2: CH 1, [SC in next ST, CH 1, SK 1] 30 times, SLST to join. (30 STS/30 CH SP)
Row 3: CH 1, [HHDC in next 9 STS and CH SP, HHDC2TOG x3] 4 times, SLST to join. (48 STS)
Row 4: CH 1, [SC in next ST, CH 1, SK 1] 24 times, SLST to join. (24 STS/24 CH SP)
Row 5: CH 1, [HHDC in next 6 STS and CH SP, HHDC2TOG x3] 4 times, SLST to join. (36 STS)
Row 6: CH 1, [SC in next ST, CH 1, SK 1] 18 times, SLST to join. (18 STS/18 CH SP)
Row 7: CH 1, [HHDC in next 3 STS and CH SP, HHDC2TOG x3] 4 times, SLST to join. (24 STS) Fasten off this colour.
Row 8: CH 1, [SC in next ST, CH 1, SK 1] 12 times, SLST to join. (12 STS/12 CH SP)
Row 9: CH 1, HHDC2TOG around, SLST to join. (12 STS) Fasten off this colour.
Row 10: CH 1, SC2TOG around, SLST to join. (6 STS) Fasten off and leave a long tail for closing your hat.
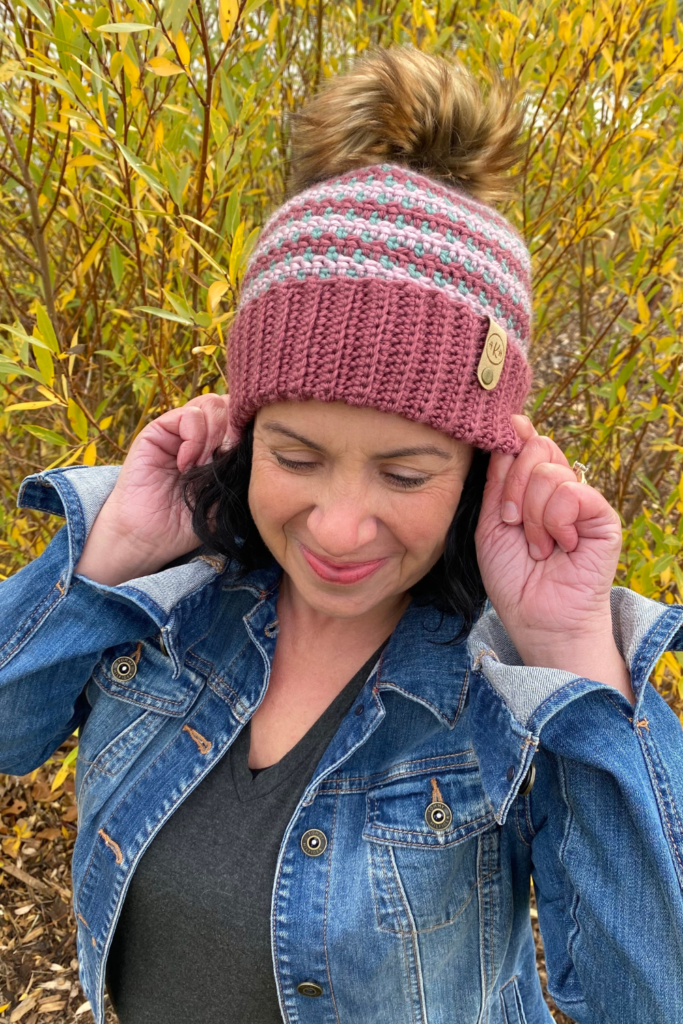
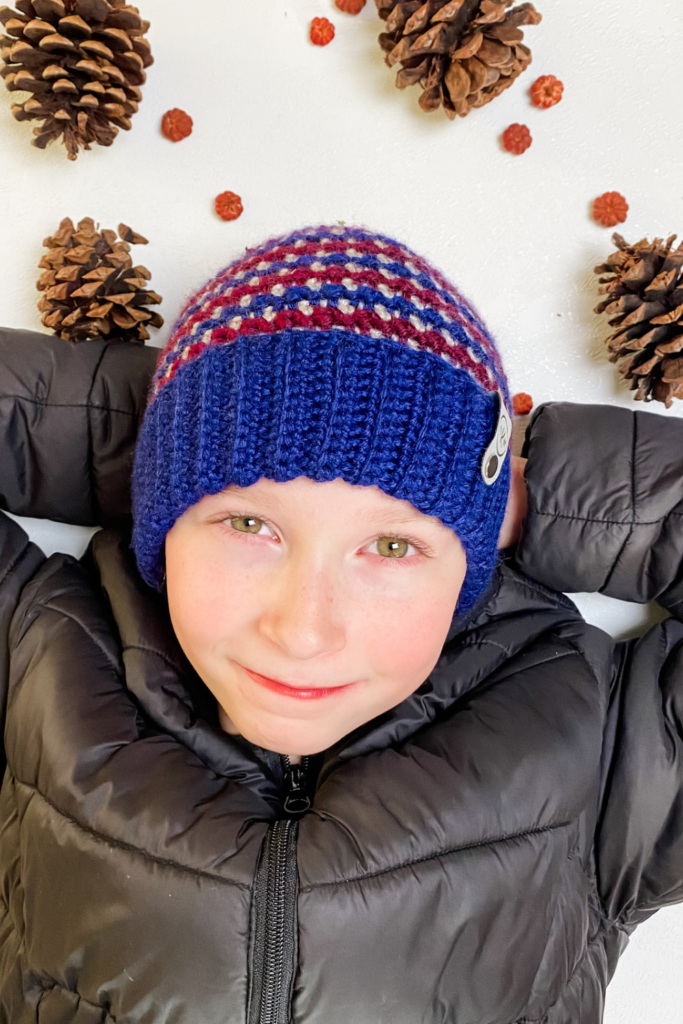
Don't you love Mommy and Me sets?!
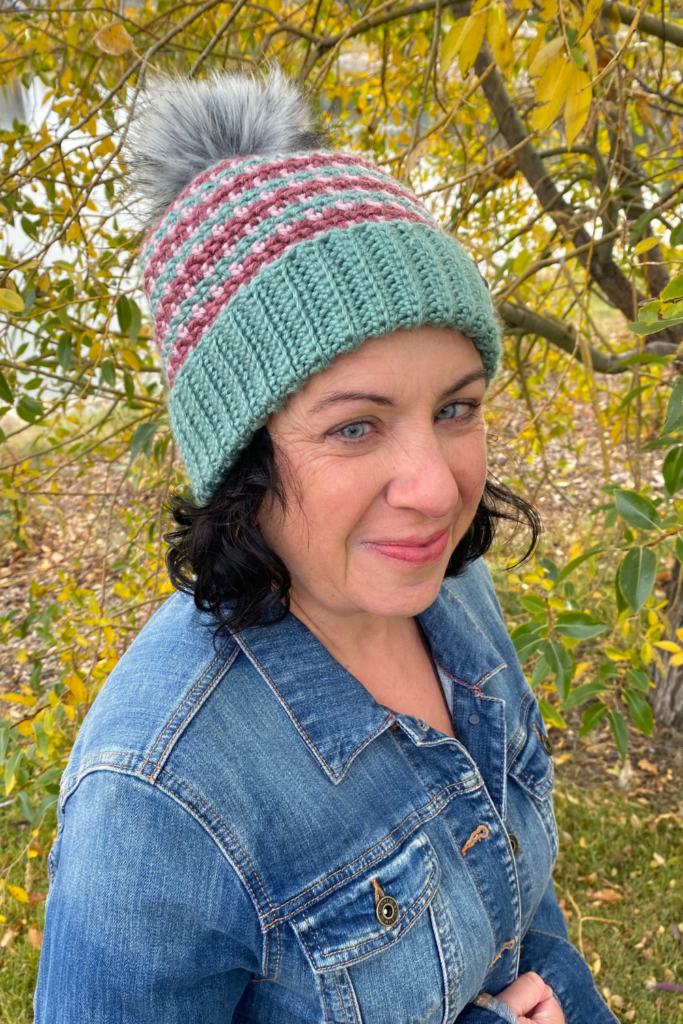
Adult: 5 mm hook
Brim: CH 25
Row 1: Work a SC in 2nd CH from the hook, SC in the next 23 STS, turn. (24 STS)
Row 2: CH 1, SC in next ST, SC in BLO of next 22 STS, SC in last ST, turn. (24 STS)
Repeat row 2 until your brim is 20 inches long, lightly stretched.
Joining the band.
SLST your last row into your first row (chains) to create the band. Flip your band to make sure your SLST’s are on the outside of your hat. DO NOT FASTEN OFF.
Flip up the bottom edge of your brim to the top edge of your brim. Make sure your seam is inside your folded up brim.
Row 1: CH 1, SC 18 times in the inside edge of the brim, SC through both edges of the brim, SC 37 times in the inside edge of the brim, SC through both edges of the brim, SC 19 times in the inside edge of the brim, SLST to join. (76 STS)
Make sure your stitches are going in evenly around the brim.
Row 2:CH 1, [SC in next ST, CH 1, SK 1] 38 times, SLST to join. (38 STS/38 CH SP)
Row 3: CH 1, HHDC in each ST and CH SP around, SLST to join. (76 STS)
Repeat row 2 and 3 until your hat reaches 6 inches tall. End on row 2.
Decrease Rows
Row 1: CH 1, [HHDC in next 13 STS and CH SP, HHDC2TOG x3] 4 times, SLST to join. (64 STS)
Row 2: CH 1, [SC in next ST, CH 1, SK 1] 32 times, SLST to join. (32 STS/32 CH SP)
Row 3: CH 1, [HHDC in next 10 STS and CH SP, HHDC2TOG x3] 4 times, SLST to join. (52 STS)
Row 4: CH 1, [SC in next ST, CH 1, SK 1] 26 times, SLST to join. (26 STS/26 CH SP)
Row 5: CH 1, [HHDC in next 7 STS and CH SP, HHDC2TOG x3] 4 times, SLST to join. (40 STS)
Row 6: CH 1, [SC in next ST, CH 1, SK 1] 20 times, SLST to join. (20 STS/20 CH SP)
Row 7: CH 1, [HHDC in next 4 STS and CH SP, HHDC2TOG x3] 4 times, SLST to join. (28 STS) Fasten off this colour.
Row 8: CH 1, [SC in next ST, CH 1, SK 1] 14 times, SLST to join. (14 STS/14 CH SP)
Row 9: CH 1, HHDC2TOG around, SLST to join. (14 STS) Fasten off this colour.
Row 10: CH 1, SC2TOG around, SLST to join. (7 STS) Fasten off and leave a long tail for closing your hat.
Finishing the Hat.
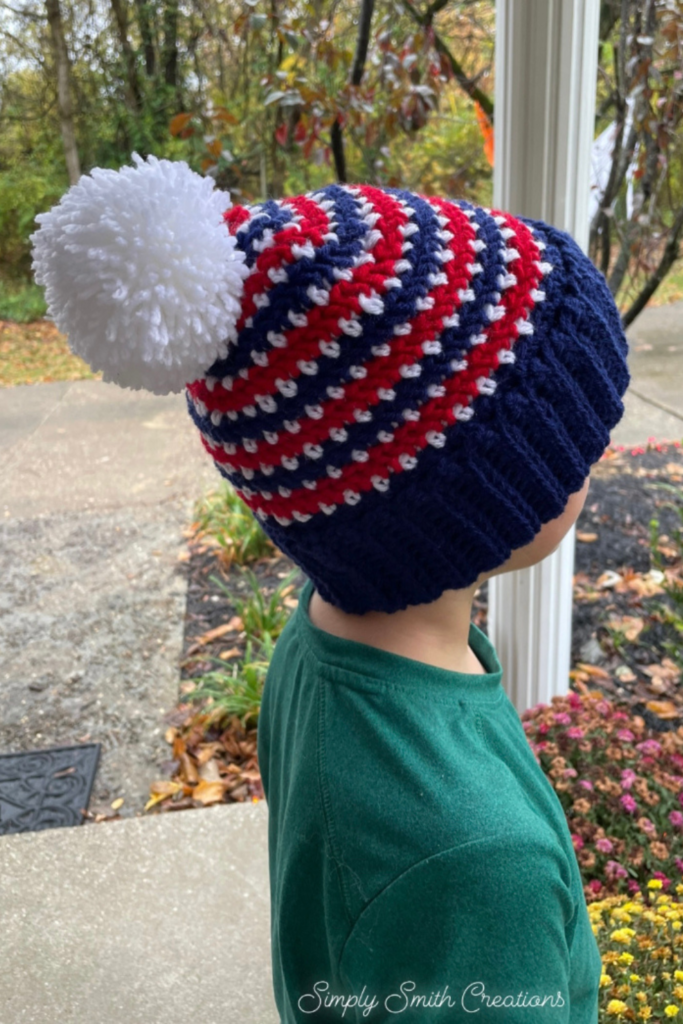
Weave the tail through each ST at the top of the hat, pull tightly to close the hole. I do a couple of whip stitches to hold it closed. Tie off and weave in all ends. At this time, you can add a pom pom if you wish.
There you have it!
You have made your very own Jax Beanie.
If you want a printed version of this pattern with 3 more sizes included, click on over to my Ravelry site here where you can buy and download instantly.
I love to see your finished items, so feel free to use #aknottyhabitdesigns when you are posting your photos, so I can admire your work!
The photographs and pattern contained in the document are the property of A Knotty Habit Designs. You may not reproduce, redistribute, or share this pattern. You may sell your finished items but please consider giving credit to A Knotty Habit Designs.
This website uses cookies to improve your experience. We'll assume you're ok with this, but you can opt-out if you wish. Cookie settingsACCEPT
Privacy & Cookies Policy
Privacy Overview
This website uses cookies to improve your experience while you navigate through the website. Out of these cookies, the cookies that are categorized as necessary are stored on your browser as they are essential for the working of basic functionalities of the website. We also use third-party cookies that help us analyze and understand how you use this website. These cookies will be stored in your browser only with your consent. You also have the option to opt-out of these cookies. But opting out of some of these cookies may have an effect on your browsing experience.
Necessary cookies are absolutely essential for the website to function properly. This category only includes cookies that ensures basic functionalities and security features of the website. These cookies do not store any personal information.
Any cookies that may not be particularly necessary for the website to function and is used specifically to collect user personal data via analytics, ads, other embedded contents are termed as non-necessary cookies. It is mandatory to procure user consent prior to running these cookies on your website.