Summer has flown by and kids have either gone back to school or are still getting ready to go back to school. My two boys start back the first week of September and they last couple of days, I have been getting all the back to school things purchased and ready for them.
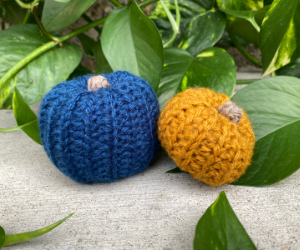
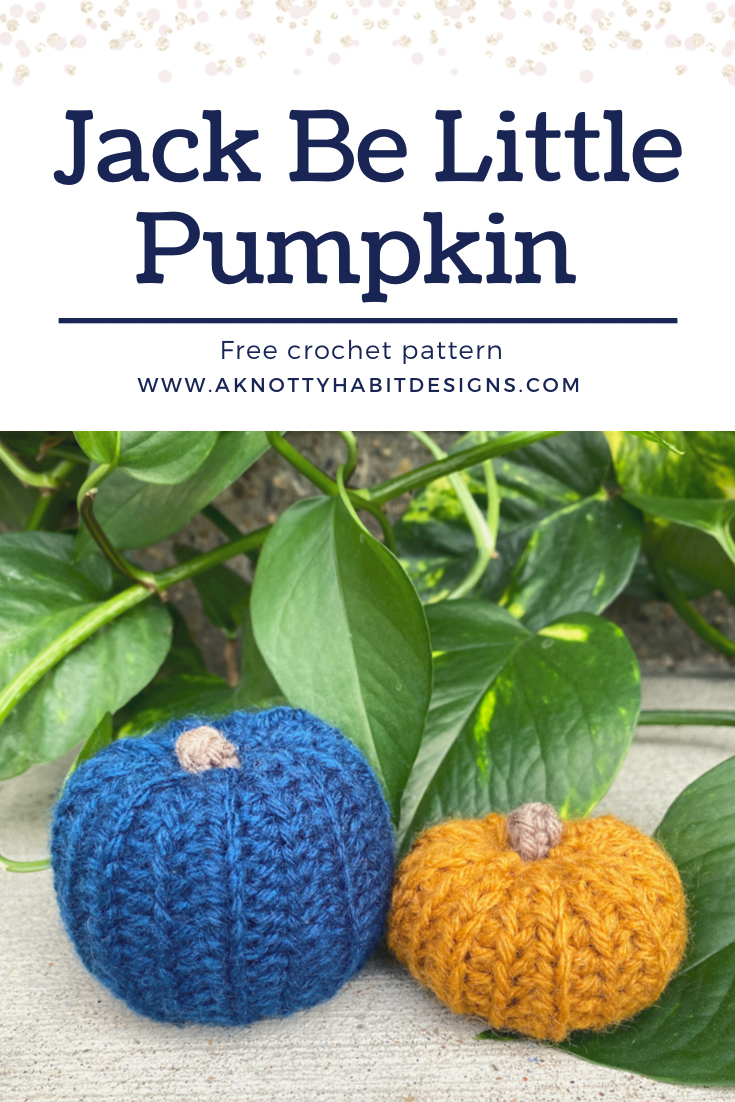
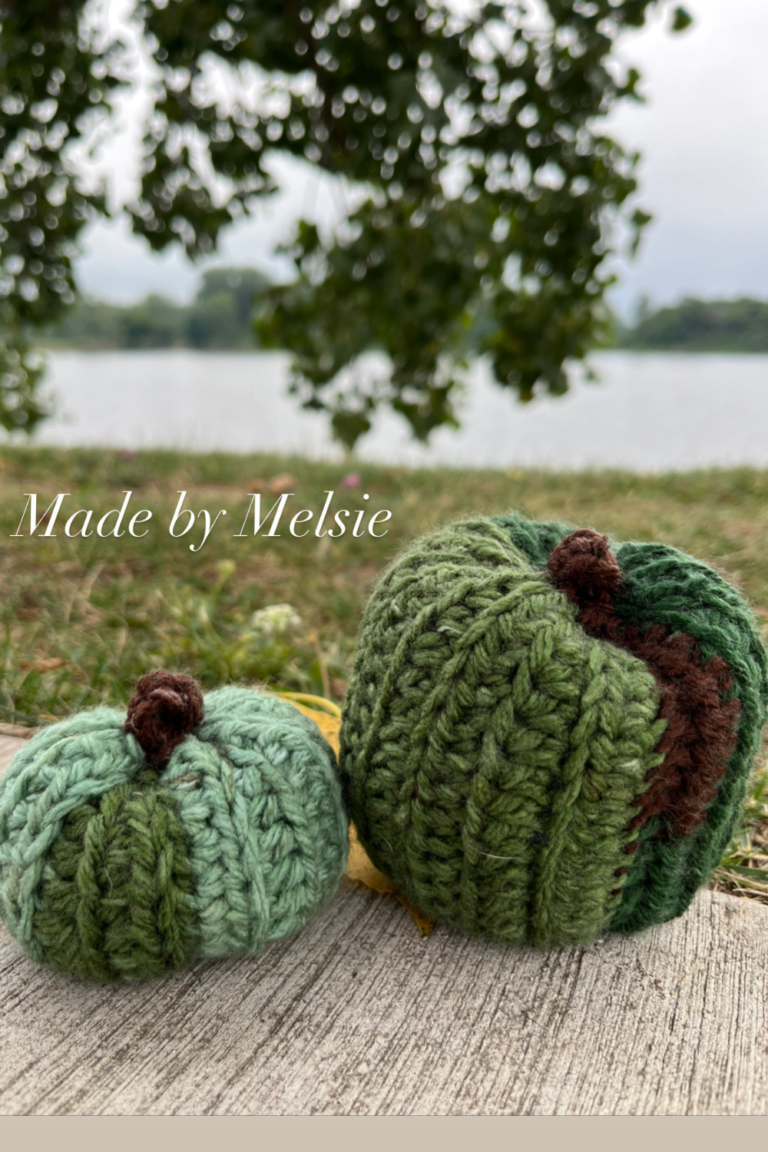
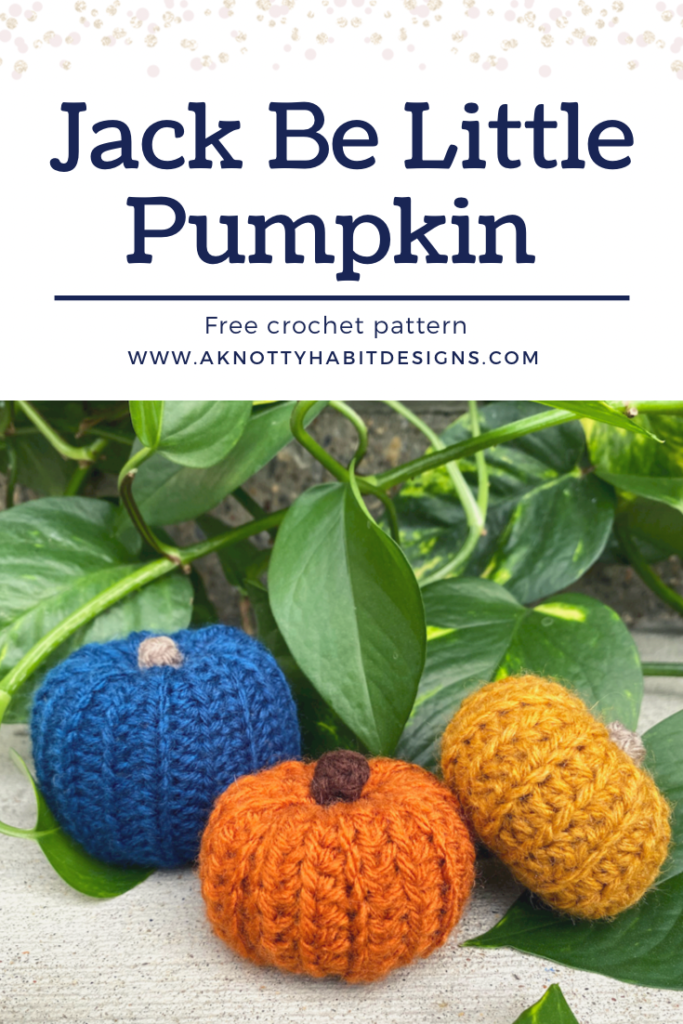
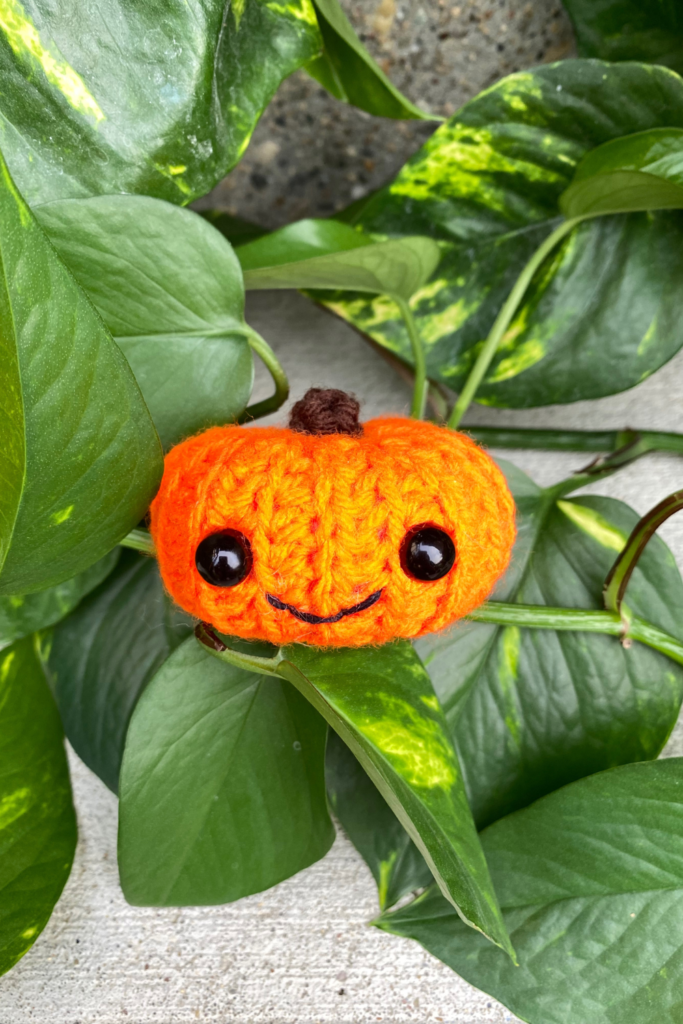
This week, I have a super quick, adorable little pumpkin pattern for you. Yes, yes, I know it’s still summer but I can’t wait to make all the fall things, so I didn’t wait! The Jack Be Little Pumpkin is the sweetest little thing and I can whip on up in about 30 minutes.
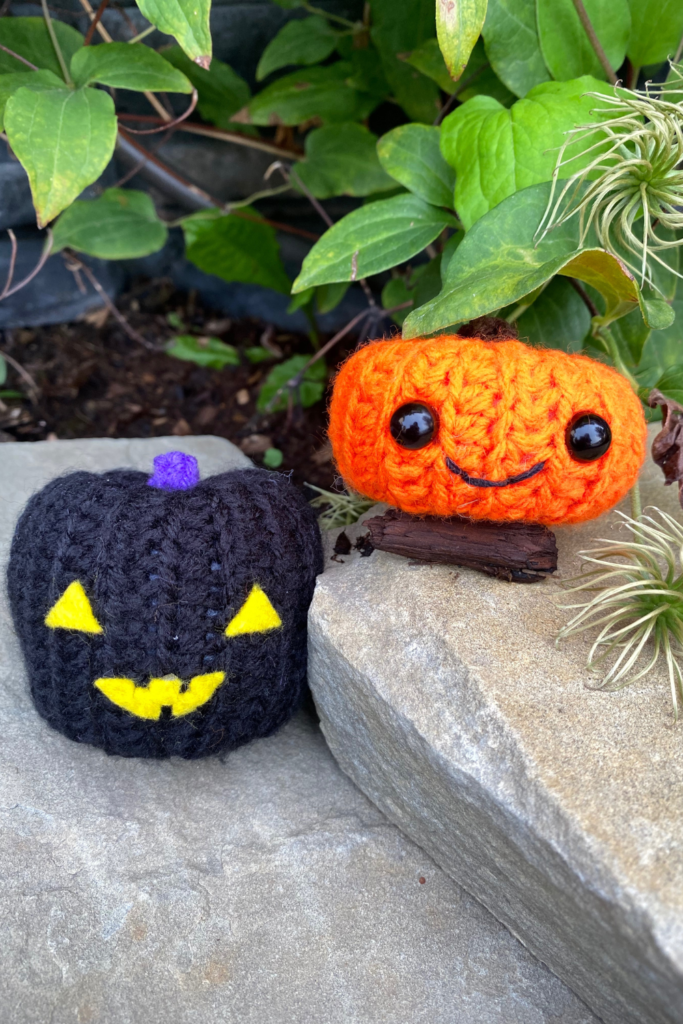
I even had to try making them in to little jack-o-lanterns! I definitely don’t think they disappoint in the slightest. Their little faces are just too cute for words and they can’t help but put a smile on my face.
Are you getting ready for all the fall and Halloween makes?
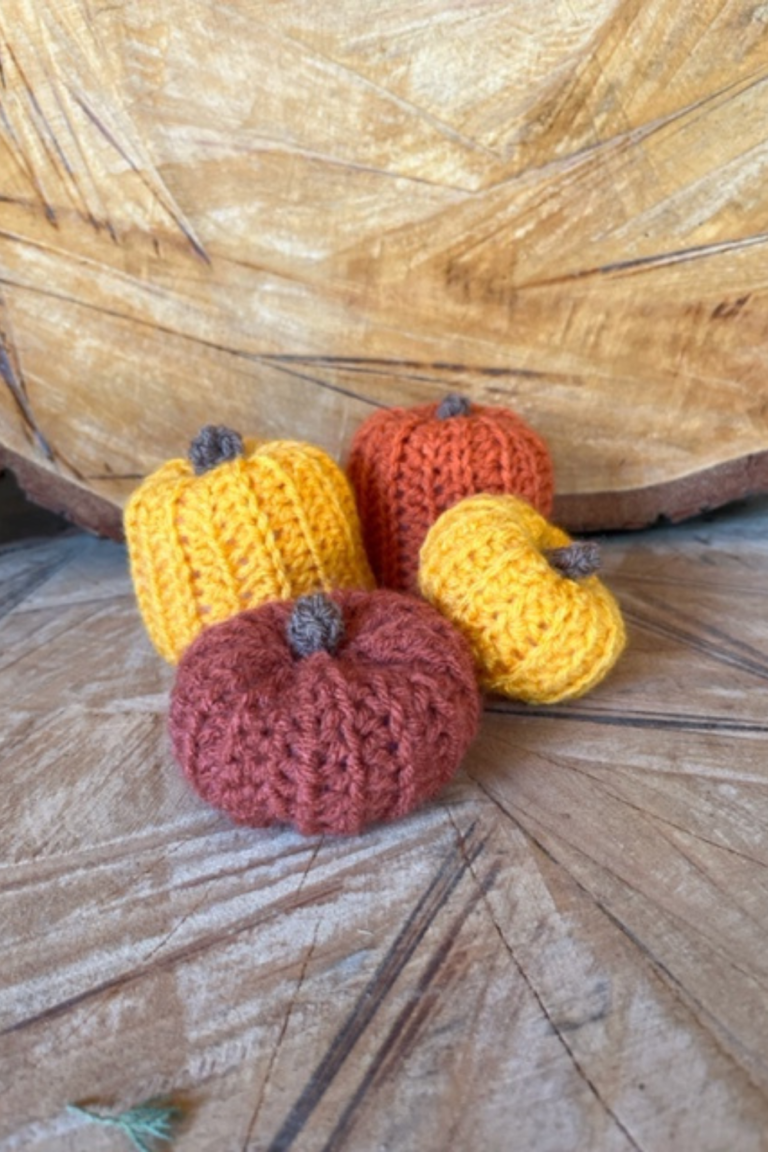
The fact that these work up so quickly and are so stinking adorable, would make a fantastic market make! I honestly cant wait to display these in my home once my husband is ready for fall decorations. I am definitely ready before he is and would already have all the fall things up but I am trying to be patient until September.
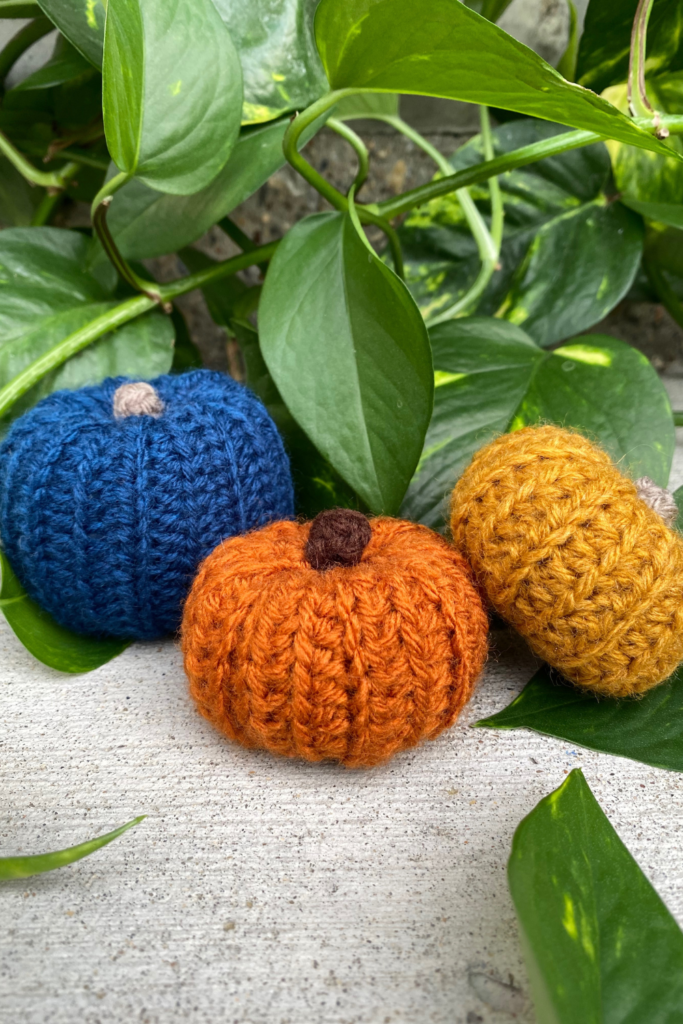
Fall colours are my absolute favourite and I love how inviting they are in my home. I am sure this is because fall is my favourite season, even though it feels like it is the shortest season here in Alberta. Fall comes for only a few short weeks before we inevitably get our first snow fall of the season. Though, there has been a few years where we get lucky and fall sticks around for awhile.
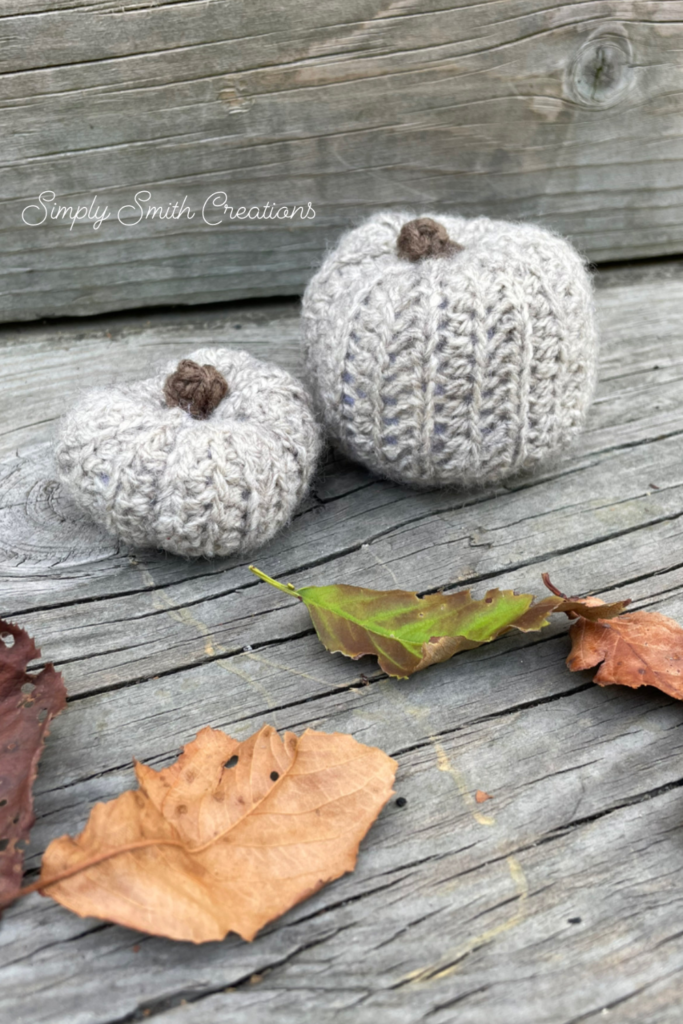
I really love how you can customize these little guys any way you want and now my children are designing their own little faces to stick on their own pumpkins! It truly brings me so much joy seeing them take so much interest in my craft and my oldest is even crocheting now. He has expensive taste, haha. He gravitated right to Avery Lane Creations hand dyed yarn. I mean, who wouldn’t? It’s the most amazing yarn to work with and her colours are always so appealing and beautiful.
Have you tried hand dyed yarn?
If you haven’t tried hand dyed yarn, I definitely recommend it. The drape of your pieces are amazing!!
What you need: 4 mm crochet hook (or hook to obtain gauge).
Worsted weight (4) yarn. I used Lion Brand Wool Ease (approx. 20 – 30 yards each)
Yarn needle Measuring tape Scissors Poly-fil
Gauge:
4.5 SC by 4 Rows = 1-inch square
Stitches you will be working with:
CH: Chain SC: Single Crochet HDC: Half Double Crochet BLO: Back Loop Only FLO: Front Loop Only STS: Stitches
Size:
Small Pumpkin: Approximately 2.6 inches by 2.5 inches. Teeny Pumpkin: Approximately 1.5 inches by 2.5 inches.
Notes: Written in US terminology. All CH 1 do not count as a stitch. If you are having trouble matching the gauge, you may need to go up or down a hook size. Even rows are your right side. Odd rows are you wrong side.
Small Pumpkin Pattern
4 mm hook
Leaving a 8-inch tail, CH 21
Row 1: SC in 2nd CH from hook, HDC in next 18 CH, SC in last CH, turn. 20 STS
Row 2: CH 1, SC in 1st ST, HDC in BLO of next 18 STS, SC in last ST, turn. 20 STS
Row 3: CH 1, SC in 1st ST, HDC in FLO of next 18 STS, SC in last ST, turn. 20 STS
Repeat rows 2 and 3 for rows 4 – 17.
Fasten off, leaving a 8-inch tail to sew the ends of your pumpkin.
Row 1: SC in 2nd CH from hook, HDC in next 10 CH, SC in last CH, turn. 12 STS
Row 2: CH 1, SC in 1st ST, HDC in BLO of next 10 STS, SC in last ST, turn. 12 STS
Row 3: CH 1, SC in 1st ST, HDC in FLO of next 10 STS, SC in last ST, turn. 12 STS
Repeat rows 2 and 3 for rows 4 – 17.
Fasten off, leaving a 8-inch tail to sew the ends of your pumpkin.
Pumpkin Stem
4 mm hook
CH 6
Row 1: SC in 2nd CH from the hook, SC in the next 4 CHs. 5 STS
Fasten off, leaving a tail to sew your stem to your pumpkin.
Closing/ Finishing
Step 1: Fold your piece in half lengthways, you should be seeing your right side. Using your 8-inch tail and a yarn needle, you will whip stitch the BLO of row 1 and row 17 together and secure it with a knot.
Step 2: Using the same tail and tapestry needle, weave your tail through every second row of the edge of the bottom of your pumpkin. Cinch it tight and whip stitch the hole fully closed. Fasten off and weave in this tail.
Step 3: Lightly stuff your pumpkin with poly-fil.
Step 4: Using the remaining tail and tapestry needle, weave your tail through every second row of the edge of the bottom of your pumpkin. Cinch it tight and whip stitch the hole fully closed. DO NOT WEAVE in ends yet.
Step 5: Taking your tapestry needle and yarn tail, push your needle through the top middle of your pumpkin and come through the bottom middle of your pumpkin. Pull it tight to create an indent in the bottom of your pumpkin and secure it with a stitch or two. Push your needle through the bottom middle of your pumpkin and come through the top middle of your pumpkin. Pull it tight to create an indent at the top of your pumpkin and secure it with a stitch or two.
Step 6: Fold your stem in half and sew it to the top middle of your pumpkin. Weave in all ends.
Step 7: Add any accessories you would like!
There you have it!
You have made your very own Jack Be Little Pumpkin.
If you want a printed version of this pattern, click on over to my Ravelry site here where you can buy and download instantly.
I love to see your finished items, so feel free to use #aknottyhabitdesigns when you are posting your photos, so I can admire your work!
The photographs and pattern contained in the document are the property of A Knotty Habit Designs. You may not reproduce, redistribute, or share this pattern. You may sell your finished items but please consider giving credit to A Knotty Habit Designs.
This website uses cookies to improve your experience. We'll assume you're ok with this, but you can opt-out if you wish. Cookie settingsACCEPT
Privacy & Cookies Policy
Privacy Overview
This website uses cookies to improve your experience while you navigate through the website. Out of these cookies, the cookies that are categorized as necessary are stored on your browser as they are essential for the working of basic functionalities of the website. We also use third-party cookies that help us analyze and understand how you use this website. These cookies will be stored in your browser only with your consent. You also have the option to opt-out of these cookies. But opting out of some of these cookies may have an effect on your browsing experience.
Necessary cookies are absolutely essential for the website to function properly. This category only includes cookies that ensures basic functionalities and security features of the website. These cookies do not store any personal information.
Any cookies that may not be particularly necessary for the website to function and is used specifically to collect user personal data via analytics, ads, other embedded contents are termed as non-necessary cookies. It is mandatory to procure user consent prior to running these cookies on your website.