How has you summer been? Mine has been full of little adventures and experiences with my boys. I have come to the realization that my children really aren’t that little anymore. My youngest is turning 8 years old in exactly a week and my oldest is getting so tall that he is going to tower over me in a heartbeat. I’m just so proud of them and who they are becoming but how did it happen so quickly?
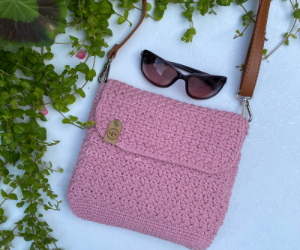
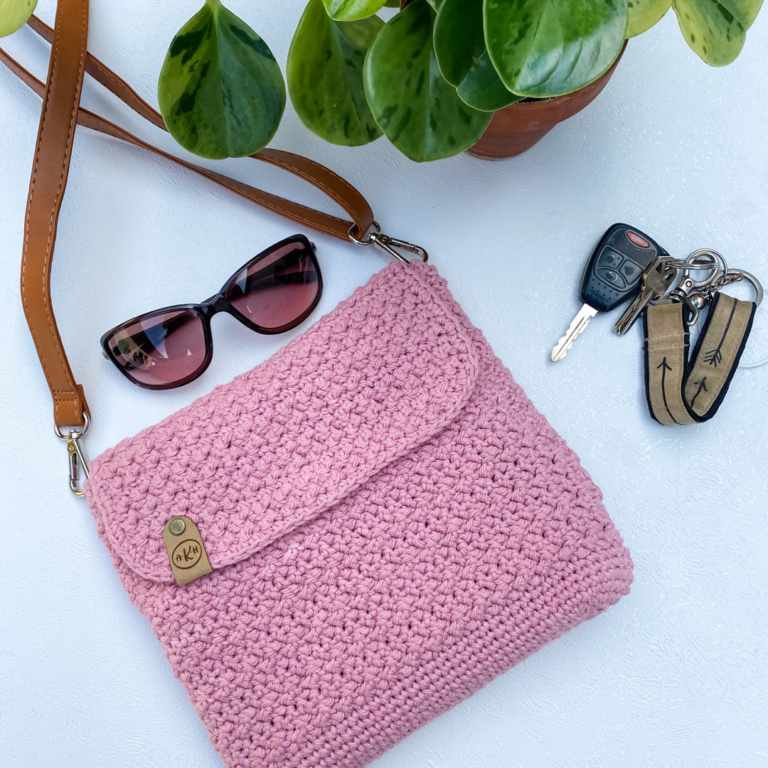
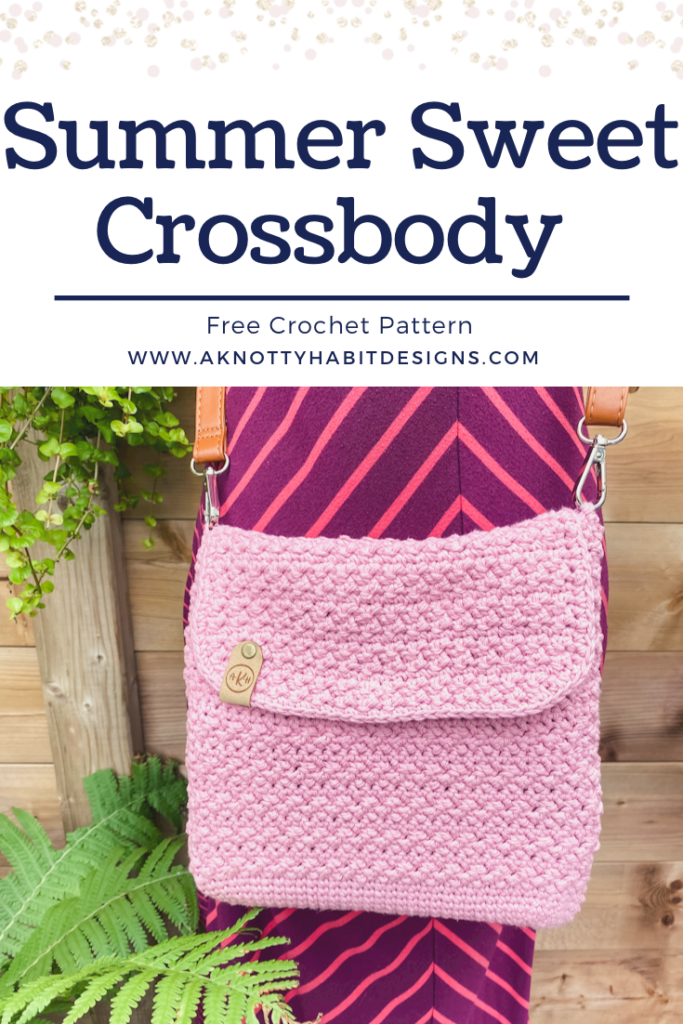
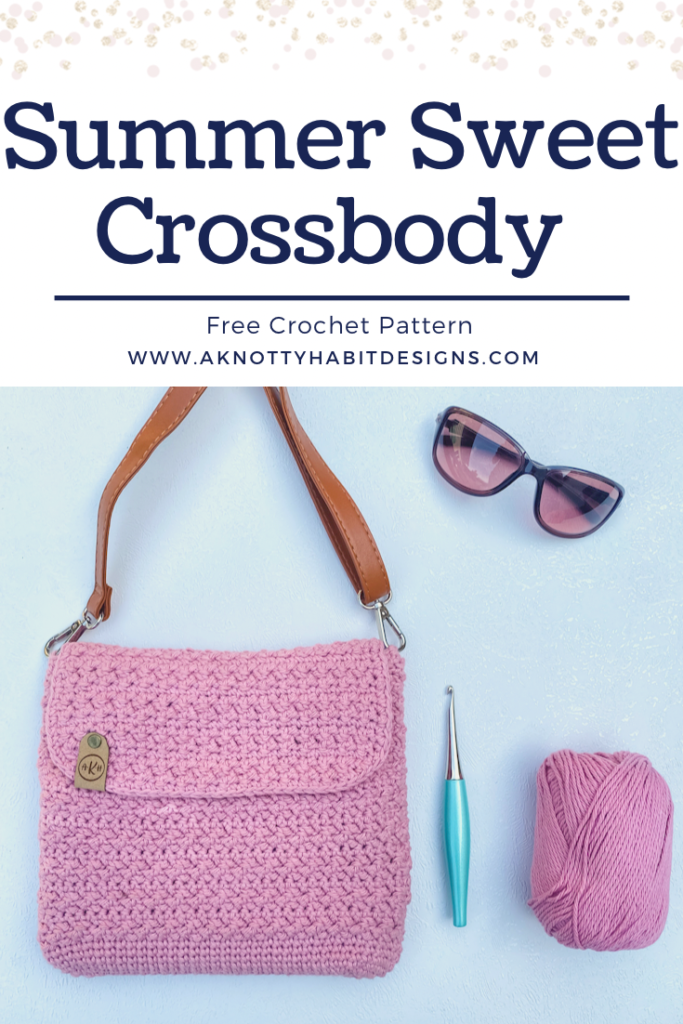
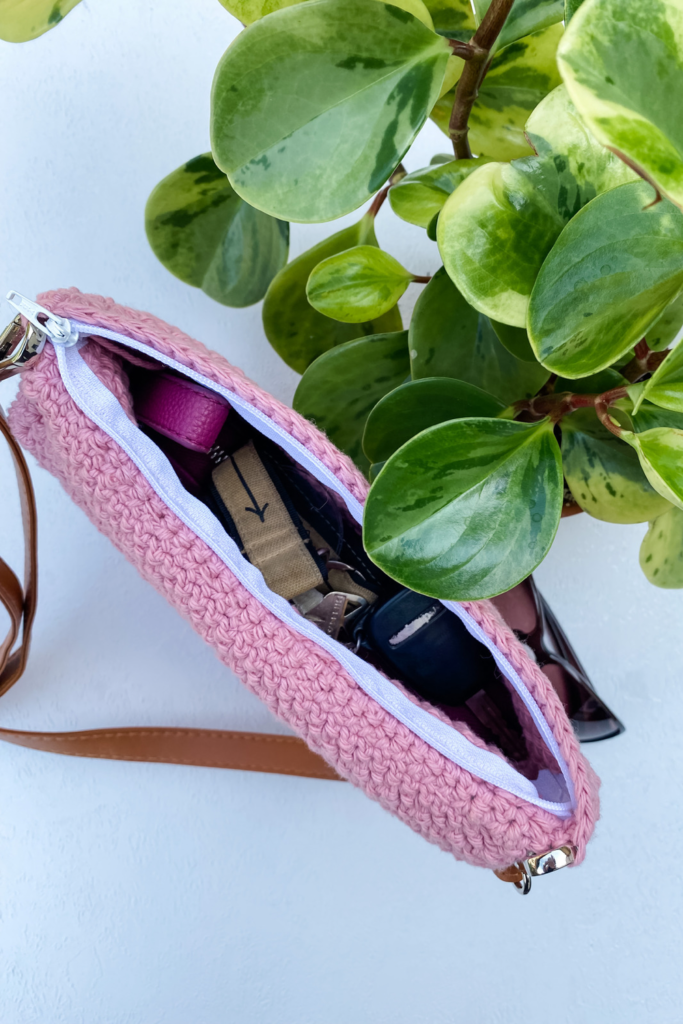
Anyways, today I am going to keep it short and sweet as I am really excited to show you what I have been working on!! The Summer Sweet Crossbody turned out way better than it was in my head and I just can’t wait to share it with you guys! I have plans to line this bag with fabric and it will be my go to for the rest of the summer. There may or may not be a wristlet version of this coming soon as well.
Are you ready to make your own Summer Sweet Crossbody bag?
PATTERN : Summer Sweet Crossbody
What you need: 4 mm and 5 mm crochet hook (or hook to obtain gauge).
Worsted weight (4) yarn. I used Lily Sugar n Cream (approximately 285 yards).
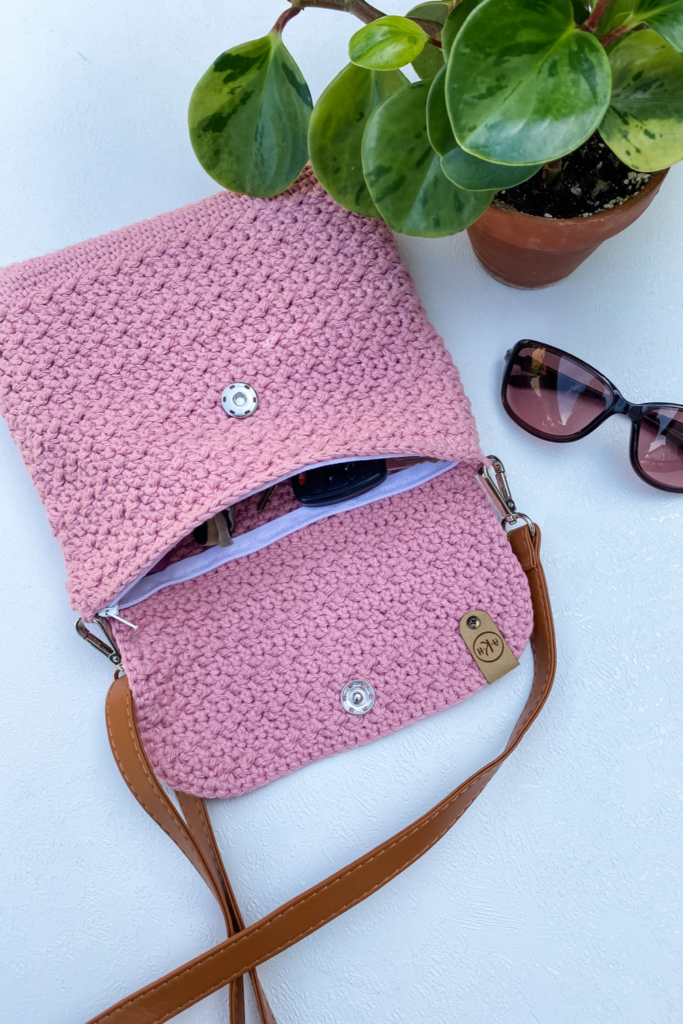
Yarn needle Measuring tape Scissors 25 mm snap fastener 10 inch closed zipper (optional)
Size: Approximately 9 inches tall by 9.75 inches wide.
Gauge with 5 mm hook:
4 SC by 4 rows = 1 in x 1 in square
Stitches you will be working with:
CH: Chain SC: Single Crochet
HHDC: Herringbone Half Double Crochet: Yarn over (YO), insert hook into the next ST, YO and pull through the ST and the first loop on the hook, YO and then pull through the last 2 loops.
SC2TOG: Single Crochet 2 Together SLST: Slip Stitch ST/STS: Stitch/Stitches SK: Skip
Notes: Written in US terminology. All CH 1 do not count as a stitch. If you are having trouble matching the gauge, you may need to go up or down a hook size. You are welcome to use any strap you would like and can crochet your strap as long/short or as wide as you need.
Bag Pattern : 5 mm hook
CH 25
Row 1: 3 SC in 2nd CH from hook, SC in next 22 CHs, 5 SC in the last CH, working along the back of the chain, SC in next 22 CH, 2 SC in the same CH as the beginning 3 SC, SLST to join. (54 STS)
Row 2: CH 1, 2 SC in the next 3 STS, SC in next 22 STS, 2 SC in next 5 STS, SC in next 22 STS, 2 SC in last 2 STS, SLST to join. (64 STS)
Row 3: CH 1, [2 SC in next ST, SC in next ST] 3 times, SC in next 22 STS, [2 SC in next ST, SC in next ST] 5 times, SC in next 22 STS, [2 SC in next ST, SC in next ST] 2 times, SLST to join. (74 STS)
Row 4: CH 1, SC around, SLST to join. (74 STS)
Repeat row 4 for rows 5 – 7.
You will now begin to turn your work at the end of each row.
Row 8: CH 1, [HHDC in next ST, SLST in next ST] 37 times, SLST to join, turn. (74 STS)
Row 9: CH 1, [HHDC in next ST, SLST in next ST] 37 times, SLST to join, turn. (74 STS)
Row 10: CH 1, [HHDC in next ST, SLST in next ST] 37 times, SLST to join, turn. (74 STS)
Using your yarn needle and long tail from your flap, sew your flap to 1 side of your bag. When the bag is laid flat, there should be 1 unworked stitch on each side of your flap. You will want to see the right side of your SC in row 21 of the flap. Attach your snap to your bag and flap.
Crossbody Strap 4 mm hook
Leave a long tail before you start your chains, you will use this to sew your strap to your bag.
CH 196
Row 1: SC in the 2nd CH from the hook, SC in the next 194 STS, turn. (195 STS)
Row 2: CH 1, SC across, turn. (195 STS)
Repeat row 2 for rows 3 and 4. Fasten off and leave a long tail to sew your strap to your bag.
Attaching the strap to your bag.
Lay your bag flat, fold the end of your strap in half and insert it an inch into one side of the bag. Using the tail you left for sewing, sew strap to your bag. Repeat this for the other end of your strap. Weave in all ends.
Attaching the zipper to the bag.
Using the sewing pins, pin the zipper to the inside of the pouch. There is some overhang, but we will deal with these as we sew the zipper to the pouch. I used cotton thread and a sharp needle to sew the zipper using a running stitch. Do not fasten off as you will continue sewing the zipper on the other side of the pouch.
Unzip the zipper and using the sewing pins, pin the zipper onto the inside of the pouch like the first side. It is very important to make sure both sides of the zipper line up or your zipper won’t zip.
Before you start sewing in the zipper, tuck the ends of the zipper into the pouch. Sew in the zipper using a running stitch. Once you get to the end, tuck the ends of the zipper into the pocket. I do a couple of whip stitches in the yarn of the bag to close and clean up the end of the zipper. Fasten off and weave in all ends.
There you have it!
You have made your very own Summer Sweet Crossbody.
If you want a printed version of this pattern, click on over to my Ravelry site here where you can buy and download instantly.
I love to see your finished items, so feel free to use #aknottyhabitdesigns when you are posting your photos, so I can admire your work!
The photographs and pattern contained in the document are the property of A Knotty Habit Designs. You may not reproduce, redistribute, or share this pattern. You may sell your finished items but please consider giving credit to A Knotty Habit Designs.
This website uses cookies to improve your experience. We'll assume you're ok with this, but you can opt-out if you wish. Cookie settingsACCEPT
Privacy & Cookies Policy
Privacy Overview
This website uses cookies to improve your experience while you navigate through the website. Out of these cookies, the cookies that are categorized as necessary are stored on your browser as they are essential for the working of basic functionalities of the website. We also use third-party cookies that help us analyze and understand how you use this website. These cookies will be stored in your browser only with your consent. You also have the option to opt-out of these cookies. But opting out of some of these cookies may have an effect on your browsing experience.
Necessary cookies are absolutely essential for the website to function properly. This category only includes cookies that ensures basic functionalities and security features of the website. These cookies do not store any personal information.
Any cookies that may not be particularly necessary for the website to function and is used specifically to collect user personal data via analytics, ads, other embedded contents are termed as non-necessary cookies. It is mandatory to procure user consent prior to running these cookies on your website.