Oh hey!! It has been a little bit since my last blog post and I apologize for that! I have been very busy working behind the scenes and getting my very first crochet-a-long set up and ready to go live in a few weeks. You guys don’t want to miss it so be sure to subscribe to my blog and get notified when it goes live!!!
My family is in the countdown to the end of school and we are looking forward to summer vacation!! Especially with restrictions lifting here in Alberta, we will be able to travel more, spend time with loved ones and go to our favourite places!
One of the things I am looking forward to doing this summer is shopping at our local markets. I could wander them for hours and find the most interesting items and tasty treats. I love home grown vegetables and checking out other artists. My kids love going and finding a special treat or treasure as well.
What's your favourite summer spot to visit?
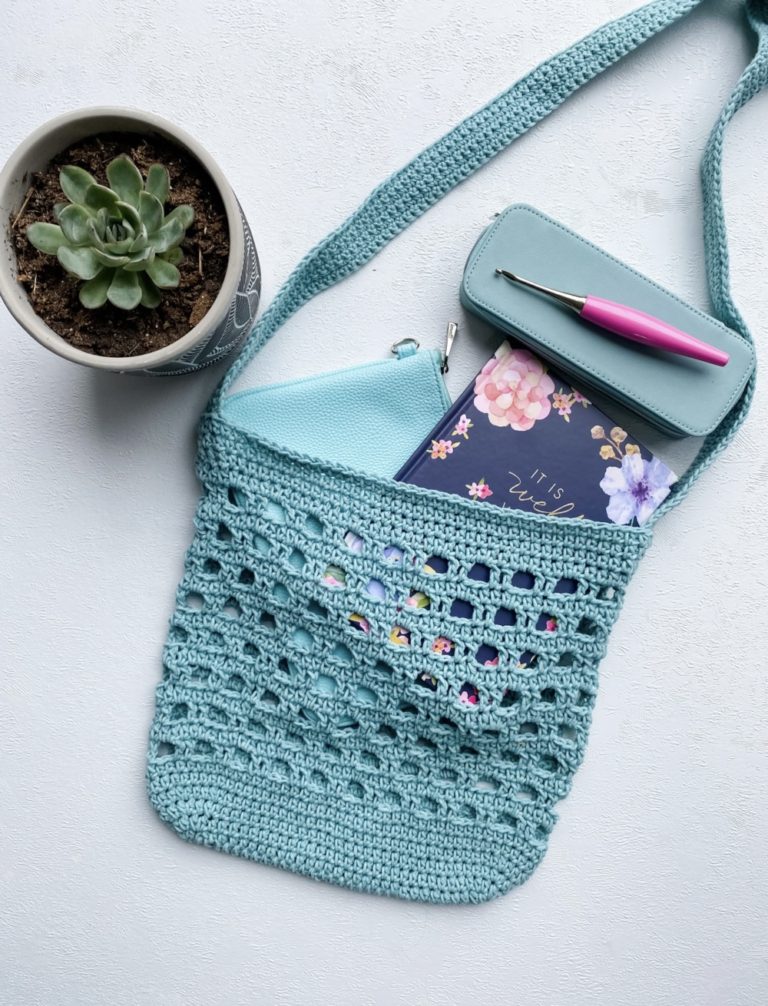
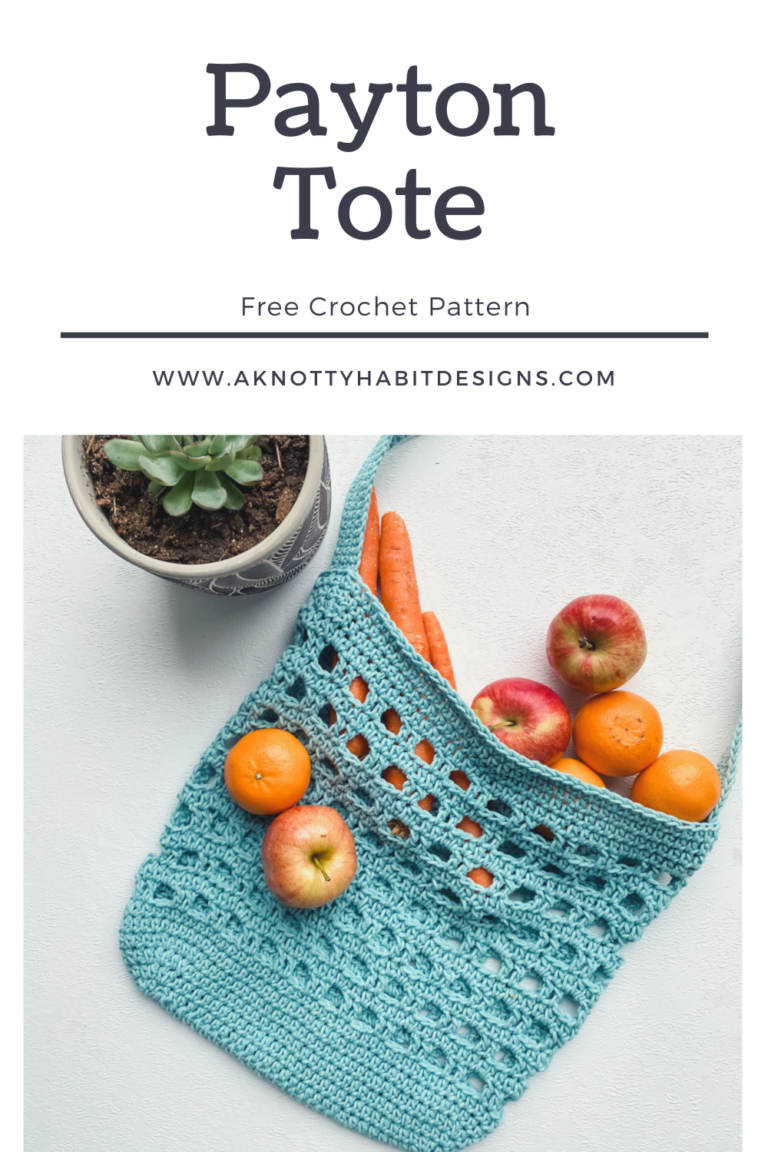
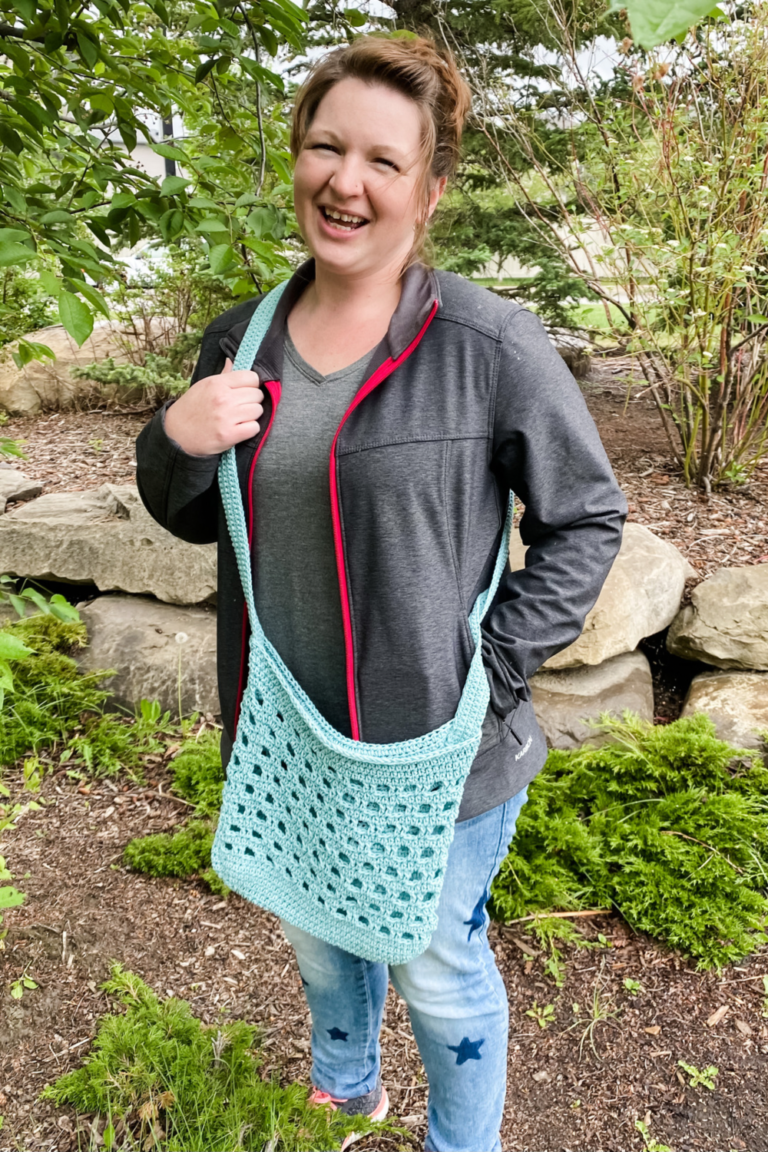
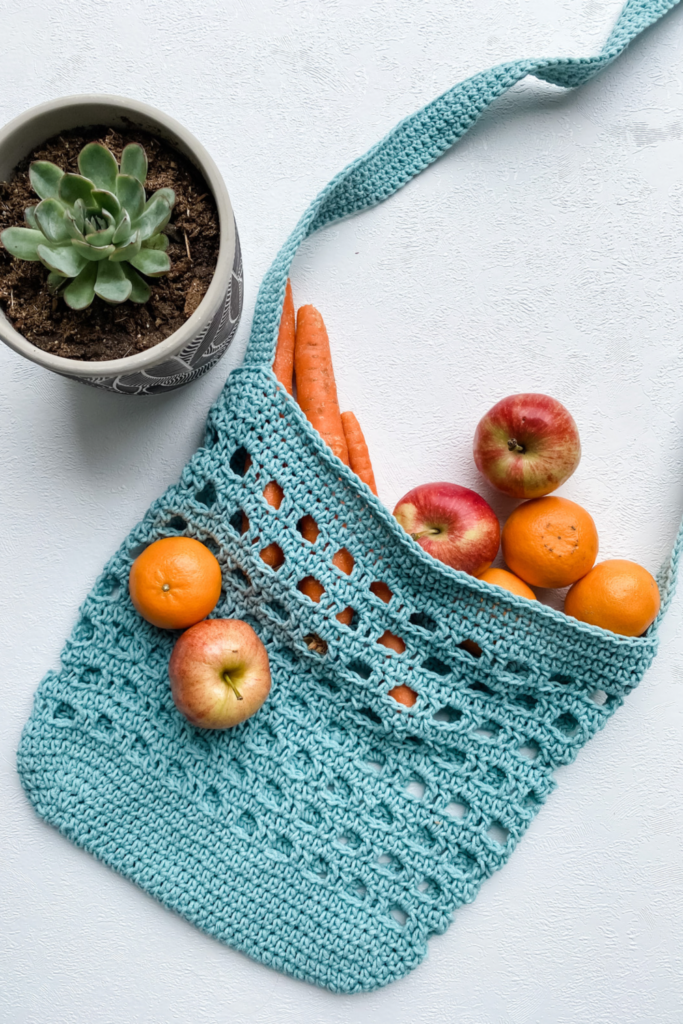
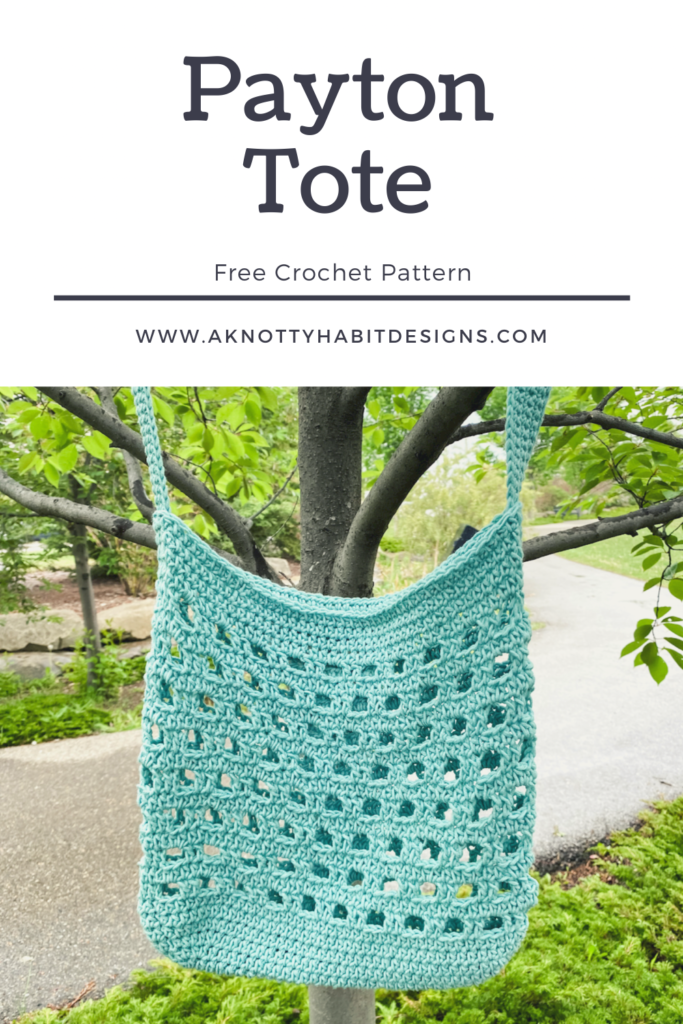
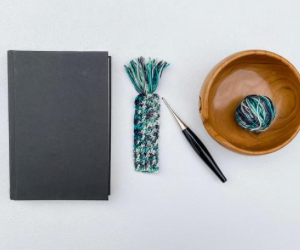
This week, I am bringing you a quick market tote crochet pattern! The Payton Tote is a works up really fast and is perfect to take with you while you check out your local markets. It’s also a great make to showcase at your own market table!
Do you prefer quick make projects?
Quick makes tend to be a favourtite for me when I am getting ready for a market.
Markets are such a great way to support your local businesses and it’s so awesome to see other makers and their art. I tend to find myself talking up other creators and learning more about their craft… Like I said, I could wander markets for hours!!
Well you guys, I hope you stay tuned to see what is in store over the next few weeks! I will start hinting and sharing sneak peeks over on my Facebook and Instagram accounts this coming week!!
Size: Approximately 11.5 inches wide by 10.5 inches tall
Notes: Written in US terminology. All CH 1/2 do not count as a stitch. If you are having trouble matching the gauge, you may need to go up or down a hook size. You can make this strap as long or as short as you want. Just adjust your starting number of CHs for your strap.
Pattern : 5 mm hook
CH 31
Row 1 : 2 HDC in 2nd CH from hook, HDC in next 28 CHs, 4 HDC in the last ST, working down the back of the chain, HDC in next 28 STS, 2 HDC in in the same ST as the 1st 2 HDC, SLST to join. ( 64STS)
Row 2 : CH 1, 2 HDC in next 2 STS, HDC in next 28 STS, 2 HDC in next 4 STS, HDC in next 28 STS, 2 HDC in last 2 STS, SLST to join. (72 STS)
Row 3 : CH 1, [2 HDC in next ST, HDC in next ST]x2, HDC in next 28 STS, [2 HDC in next ST, HDC in next ST]x4, HDC in next 28 STS, [2 HDC in next ST, HDC in next ST]x2, SLST to join. (80 STS)
Row 4 : CH 1, [2 HDC in next ST, HDC in 2 next STS]x2, HDC in next 28 STS, [2 HDC in next ST, HDC in 2 next STS]x4, HDC in next 28 STS, [2 HDC in next ST, HDC in 2 next STS]x2, SLST to join. (88 STS)
Row 5: CH 1, HDC around, SLST to join. (88)
Row 6: CH 1, HDC around, SLST to join. (88)
Row 7: CH 2, [DC in next 2 STS, CH 2, SK 2]x22, SLST to join. (44 STS, 44 CHs)
Row 8: CH 1, [HDC in next 2 STS, 2 HDC in CH space]x22, SLST to join. (88)
Repeat rows 7 and 8 for rows 9 – 22.
Row 23: CH 1, HDC around, SLST to join. (88)
Repeat row 23 for rows 24 and 25.
Fasten off and weave in ends.
Crossbody Strap
4 mm hook
Leave a long tail to use for sewing your strap to your bag.
CH 205
Row 1: SC in 2nd CH from hook, SC in next 203 CHs, turn. (204)
Row 2: CH 1, SC across, turn. (204)
Repeat row 2 for rows 3 – 6.
Fasten off and leave a long tail to sew your strap to your bag.
Attaching the strap to your bag.
Lay your bag flat, fold the end of your strap in half and insert one end an inch into side of the bag. Using the tail you left for sewing, sew strap to your bag. Repeat this for the other end of your strap.
Weave in all ends.
If you are choosing to use a faux leather strap, I recommend sewing 1-inch d-rings to either side of your bag to attach your faux leather strap to.
There you have it!
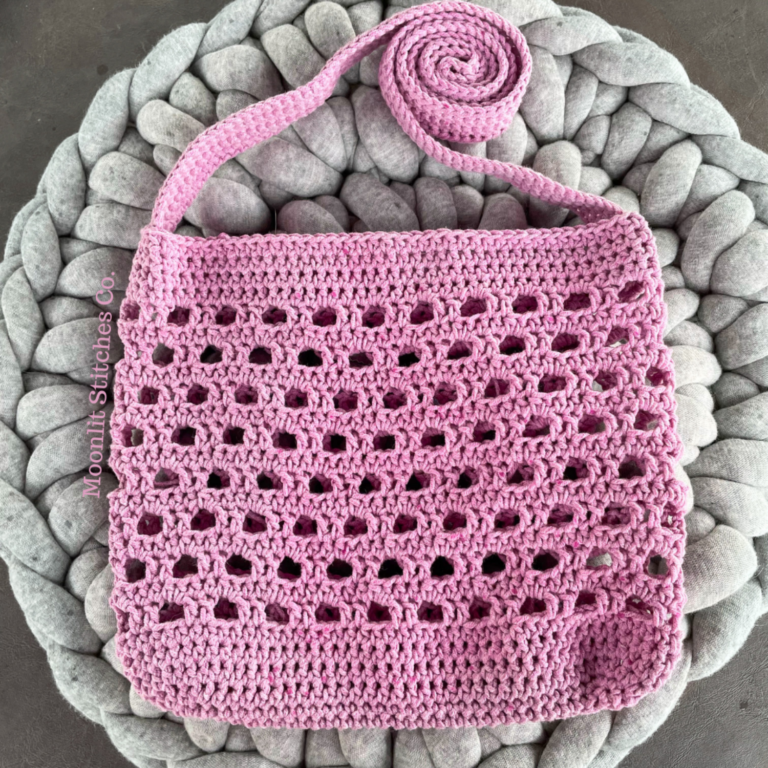
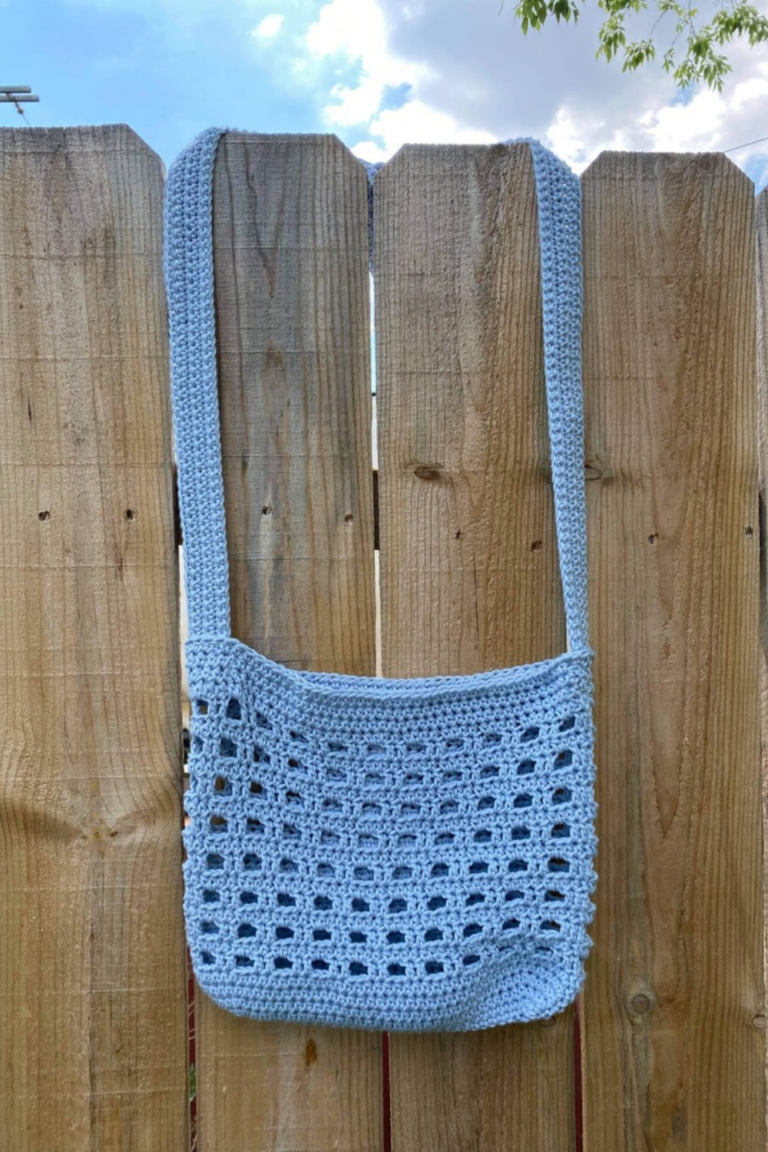
You have made your very own Payton Tote.
If you want a printed version of this pattern, click on over to my Ravelry site here where you can buy and download instantly.
I love to see your finished items, so feel free to use #paytontote when you are posting your photos, so I can admire your work!
Use code: PT2021 in my Ravelry shop to get 15% off the ad free pdf until June 14, 2021 end of day.
The photographs and pattern contained in the document are the property of A Knotty Habit Designs. You may not reproduce, redistribute, or share this pattern. You may sell your finished items but please give credit to A Knotty Habit Designs.
Thank you so much! I hope you enjoy it as much as I do! 😊
This website uses cookies to improve your experience. We'll assume you're ok with this, but you can opt-out if you wish. Cookie settingsACCEPT
Privacy & Cookies Policy
Privacy Overview
This website uses cookies to improve your experience while you navigate through the website. Out of these cookies, the cookies that are categorized as necessary are stored on your browser as they are essential for the working of basic functionalities of the website. We also use third-party cookies that help us analyze and understand how you use this website. These cookies will be stored in your browser only with your consent. You also have the option to opt-out of these cookies. But opting out of some of these cookies may have an effect on your browsing experience.
Necessary cookies are absolutely essential for the website to function properly. This category only includes cookies that ensures basic functionalities and security features of the website. These cookies do not store any personal information.
Any cookies that may not be particularly necessary for the website to function and is used specifically to collect user personal data via analytics, ads, other embedded contents are termed as non-necessary cookies. It is mandatory to procure user consent prior to running these cookies on your website.


2 Comments
Bobbie
So cute, thank you for sharing this pattern.
Danielle Arseniuk
Thank you so much! I hope you enjoy it as much as I do! 😊